
Website Logo
Download as PDFOverview
Your company or brand logo is an essential part of your website’s identity. It appears prominently at the top of your homepage and is shown consistently across all other pages. In this section, you’ll learn how to import your logo or customize it to match your brand.
Upload logo to Backstage
To use your logo on the website, you’ll first need to upload it to the system. Here’s how:
- Go to Web > Templates > Document Management. The Templates / Document Management window opens.
- Click Upload Files and add your logo.
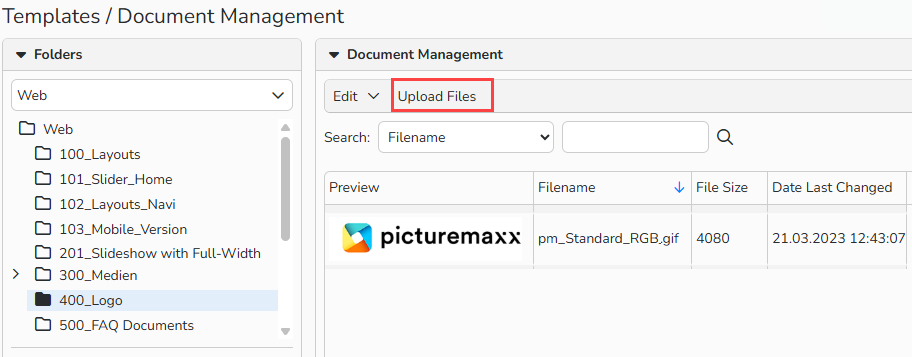
Templates / Document Management window: Upload and organize files for web content
Note
For more details, see the Document Management FAQ.
Add logo to website
Follow these steps to choose and manage the logo that appears on your website:
- Go to Web > Settings > Layout and select the Header tab.
- If you manage multiple websites: from the Website dropdown, select the relevant website.
- In the Logo section, click the [..] button to open the Document Management window and select the uploaded logo file.
- Optional: In the Lettering for Website field, enter an alternative text label that appears when no logo is available.
- Click Save.
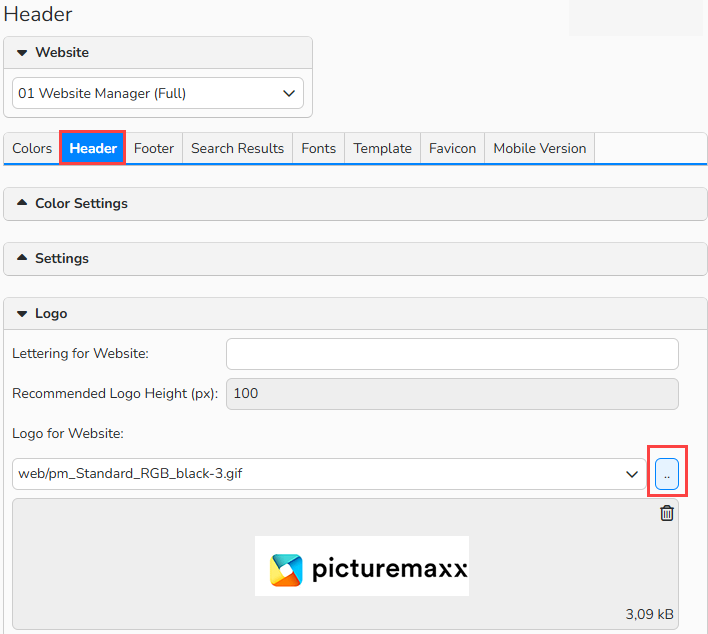
Web Layout > Header Tab: Select and add logo
Note
The alt‑text label appears whenever the system can’t show your logo or when a visitor blocks images. It also serves as the main heading on every page, helping search engines understand your site.
Find more information in the Search Engine Optimization FAQ.
Preview logo on the website
Open your website to check how your logo or label appears.
- If you added a logo
The logo you assigned now appears at the top of your site. - If you added a label instead
If you did not assign a logo but added a label instead, this text will appear in place of a logo.
Tip
Clear your browser cache
If your updated logo or label doesn’t show up right away, try clearing your browser cache and the site‑specific cookies. You can find instructions for your browser on the provider’s support website.