
Project Management
Create Project
Download as PDFOverview
With Backstage you can group lightboxes, downloads, and financial documents into organized projects. Each project can contain multiple sub-projects, each with its own status. At the same time, the system maintains an overall status for the entire project. For example, a “Van Gogh exhibition” project may include sub-projects such as a catalog, a magazine, or a poster.
This structure enables clear reporting, such as total project cost summaries.
The Project Management module allows you to create new projects and manage existing ones.
You can create projects directly from the customer master data.
Note
This module is available upon request.
Contact us at support@picturemaxx.com to learn how it can support your use case and to discuss activation options.
Create a new project
Follow the steps below to create a new project, directly from a customer master data or from the Project Management module.
- Open the New Project setup window from one of the following locations:
- Sales > Customers > Customers, open a customer record, switch to the Project tab, and click Create new Project, or
- Project Management > Projects and select Edit > New.
- In the New Project window, assign the customer to the project:
- If you started from the customer record, the customer is already preselected.
- If you started from Project Management > Projects, click Select Master Data Record. In the Customer Overview dialog:
- Select an existing customer from the list and click Choose, or
- Switch to the Create New tab to enter new customer details.
- Enter the project Master Data details (fields marked with * are mandatory).
- Enter a name for the project.
- The customer's name fills in automatically when the customer is assigned.
- The Assignee field automatically displays the salesperson, when when the customer is assigned.
- Set the Status to Open, Closed, or Abandoned.
- Creation Date of the project is automatically set to the current date.
- Enter Publication Date and End of Contract.
- The Proof of usage tracking option is enabled by default. It sends automatic reminders if proof is not received within 30 days.
- In the Permissions section, select the access groups that can view this project.
- You can also grant customer access so the project appears in the webshop.
- In the Custom Fields, add any project’s details if available.
- Click Save.
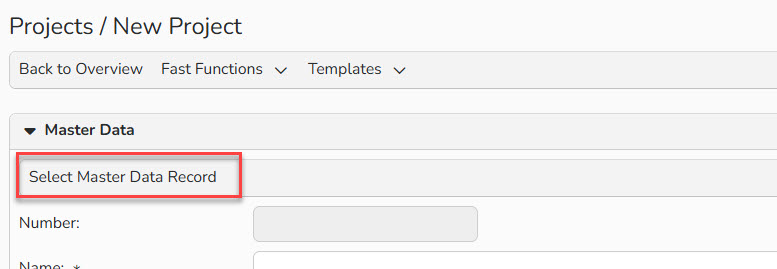
New Project setup window: Select Master Data Record
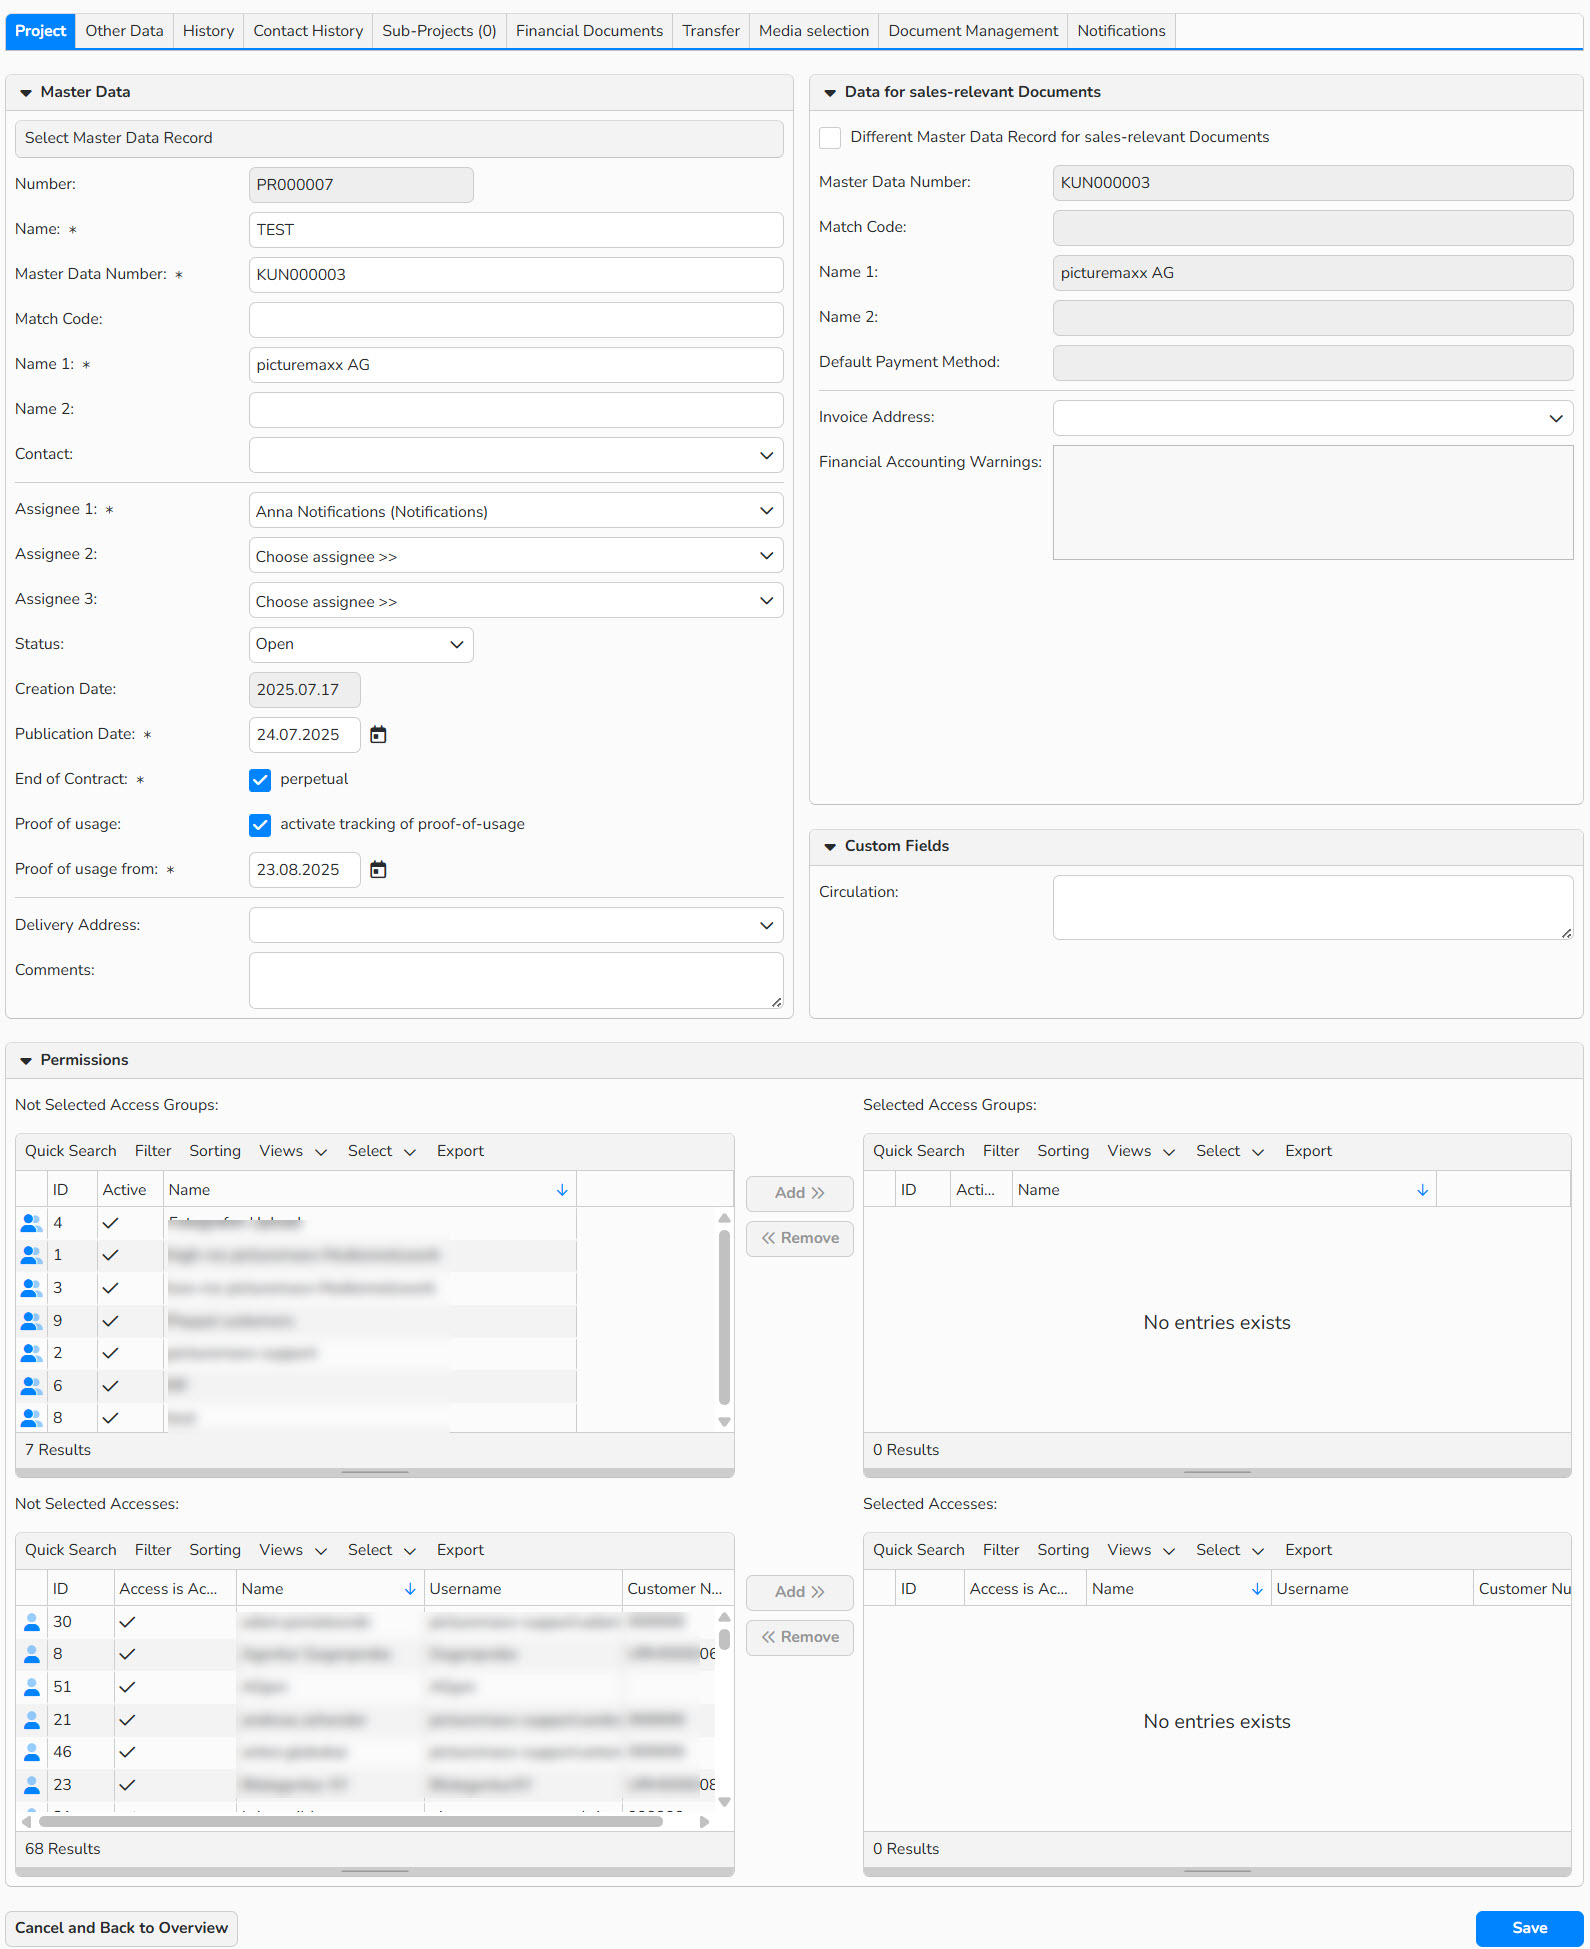
New Project setup window
Tip
Different Master Data Record for sales-relevant Documents
If you want the delivery and invoice addresses to be different in the financial documents created from the project (Financial Documents tab), enable Different Master Data Record for sales-relevant Documents and then select the invoice address.
For more information, see the Delivery and Invoice Addresses FAQ.
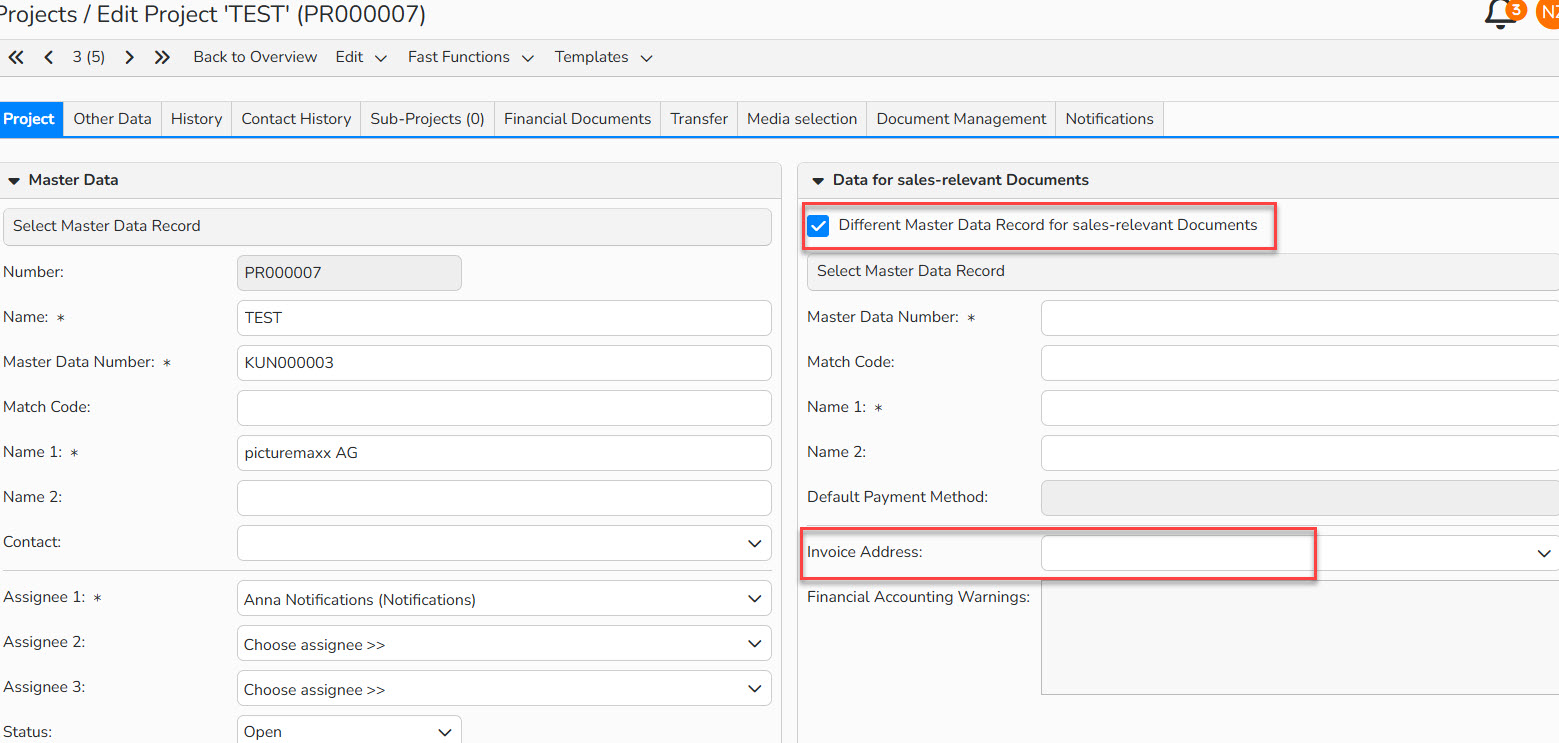
Different Master Data Record for sales-relevant Documents
Create a Sub-Project
You can create one or more sub-projects related to this project. For example, a Van Gogh exhibition may include sub-projects such as a catalog, magazine, or poster.
To create a sub-project, follow these steps:
- In Project Management > Projects, open an existing project, and switch to the Sub-Projects tab,
- Select Edit Sub-Projects > New
- Enter the sub-project details (some fields are automatically inherited from the main project).
- Click Save.
Project’s tabs
The following tabs are available to manage projects and sub-projects:

Project’s tabs
Project
Displays all master data, as well as the controls to grant permissions to view the project.
History
Shows a log of all actions performed on this project.
Contact history
Displays all contact activities related to the project (such as emails, phone calls, meetings).
Sub-Projects
Lists sub-projects associated with this project. The number of sub-projects appears in parentheses.
Financial documents
Contains all financial documents linked to this project. Here, you can create a new document: select a document type and the associated project, then click Create New.
Note
For more information on the creation of financial documents, go to the Create Invoices and Other Sales-Related Documents FAQ.
Transfer
Contains controls to transfer data from one financial document to another. For example, from a quote to a delivery note.
- Select the type of document you want to create and the associated project.
- Filter the existing documents and select the associated project.
- Select the items to add to the new document, then click Create new from selected positions.
- The document is created. Click Save.
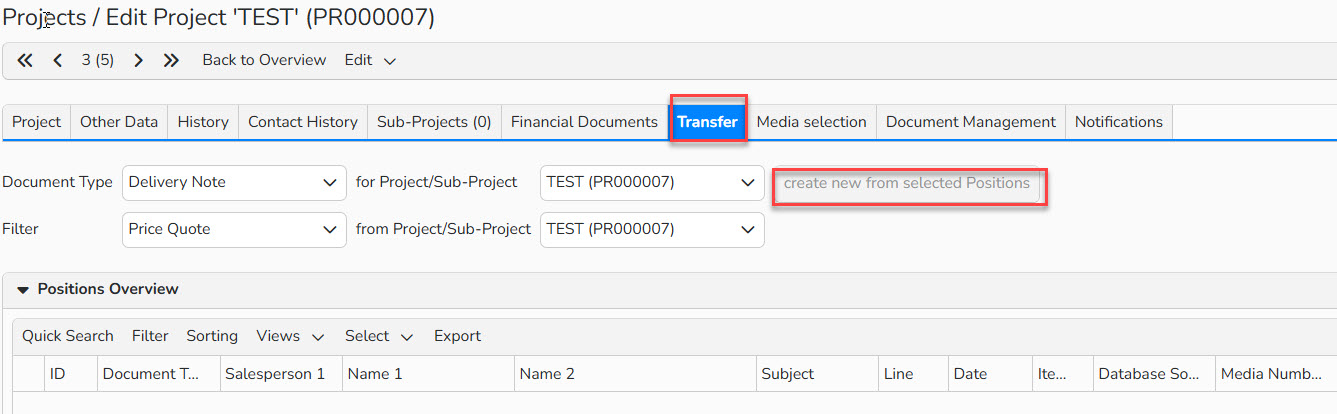
Edit Project > Transfer tab
Media selection
Lists all media files used within the project documents (and sub-projects).
Document management
Allows you to upload any attachments related to the project. For example, contracts, proofs of usage.
Notifications
Specify which users or access groups should receive notifications when the project changes or when its status is updated.
Note
The system automatically notifies the responsible person when someone adds or assigns an entry to the contact history.
Manage projects
You can access projects from:
- Project Management > Projects
- Sales > Customers > Project tab.
In the projects overview, configure the table columns to view the information you need.
Note
For more information, see the Advanced Table Views FAQ.
In the projects overview, you can:
Create a new entry
- Select Edit > New.
Edit an existing entry
- Double-click its name or select it and click Edit > Open.
Copy an existing entry
- Select the record you want to copy and click Edit > Copy.
Delete an entry
- Select the record and click Edit > Delete.
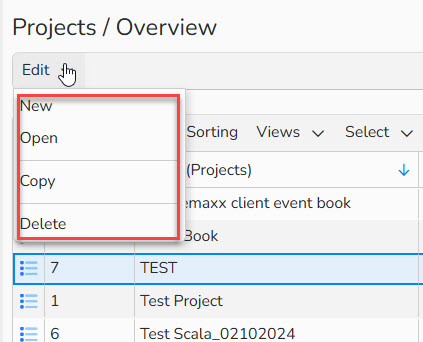
Project overview > Edit menu
Create a project template
You can create a template based on an existing project to pre-fill certain fields.
To do this, open the project and go to Templates > Save Template.
You can then select it from the Templates menu, or under Project Management > Templates > Project Templates.
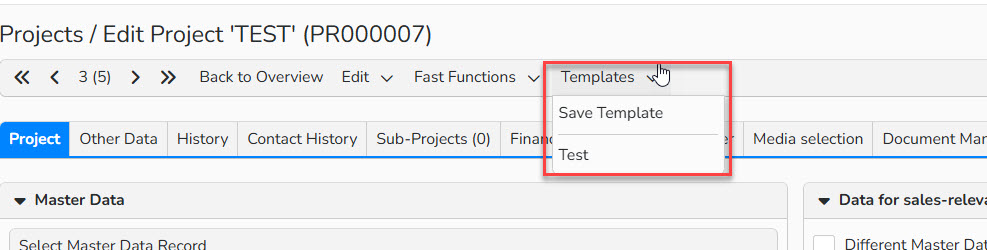
Project window: Save Template