
Website Favicon
Download as PDFOverview
A favicon is a small icon, usually 16×16 pixels, that appears in places like your browser’s address bar, tabs, or bookmarks. It helps users recognize your website quickly.
Recommended file formats for favicons
We recommend using one of these formats:
- PNG: 16 × 16 pixels (256 colors)
- ICO: 16 × 16 pixels (256 colors) or 32 × 32 pixels (16 million colors)
- GIF: 16 × 16 pixels (256 colors)
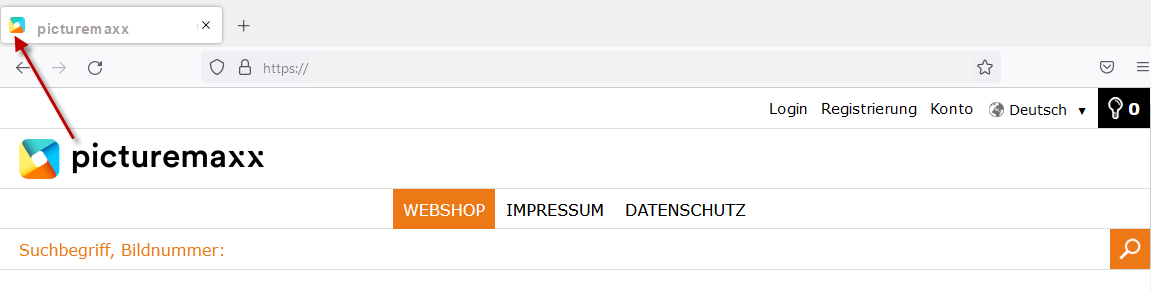 Web page: Logo and Favicon
Upload favicon to Backstage
To use your favicon on the website, you’ll first need to upload it to the system. Here’s how:
- Go to Web > Templates > Document Management. The Templates / Document Management window opens.
- Click Upload Files and add your favicon image.
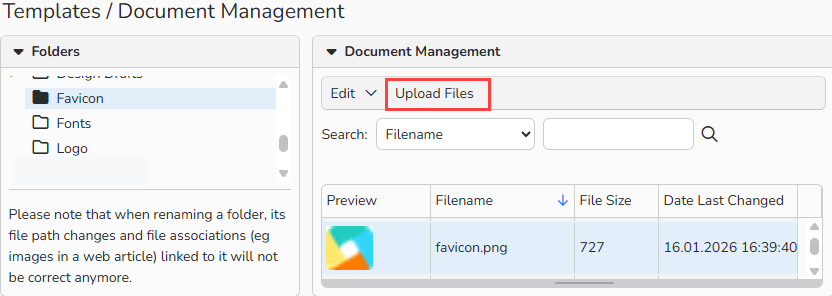
Templates / Document Management window: Upload and organize files for web content
Add favicon to website
Follow these steps to choose and manage the favicon that appears on your website:
- Go to Web > Settings > Layout and select the Favicon tab.
- If you manage multiple websites: from the Website dropdown, select the relevant website.
- In the Favicon Preview panel, click the [..] button to open the Document Management window and select the uploaded favicon file.
- Click Save to apply it to your website.
Note
For more details, see the Document Management FAQ.
Manage favicon
Manage your website’s favicon under Web > Settings > Layout in the Favicon tab.
In the Favicon Preview panel, you have the following options:
Change favicon
- Upload a new file with the the [..] button or from the drop-down menu.
- Click Save to apply it to your website.
Delete favicon
- Click the delete button to remove the favicon from your website.
- Click Save.
- After deletion, the favicon will be removed from your website.