
Form Editor: Media Processing
Download as PDFOverview
The Form Editor lets you create custom media-editing forms tailored to your workflows.
- Create as many forms as you need. Specify what data fields to display, mark mandatory fields, reorder fields in a form, and set individual field length, where applicable.
- You can assign forms to specific users, authors, or partners, so they see only the metadata fields relevant to them.
- By default, no users have access to these forms, giving you full control over who can edit media metadata.
- You can create different forms for different departments. For example, separate media‑labeling forms that show only the fields each team needs.
Backstage offers three default forms: Common, Multilingual and Other Fields. You can tailor these to your needs.
Other tabs (Preview, Metadata, etc) are standard tabs that display available metadata.
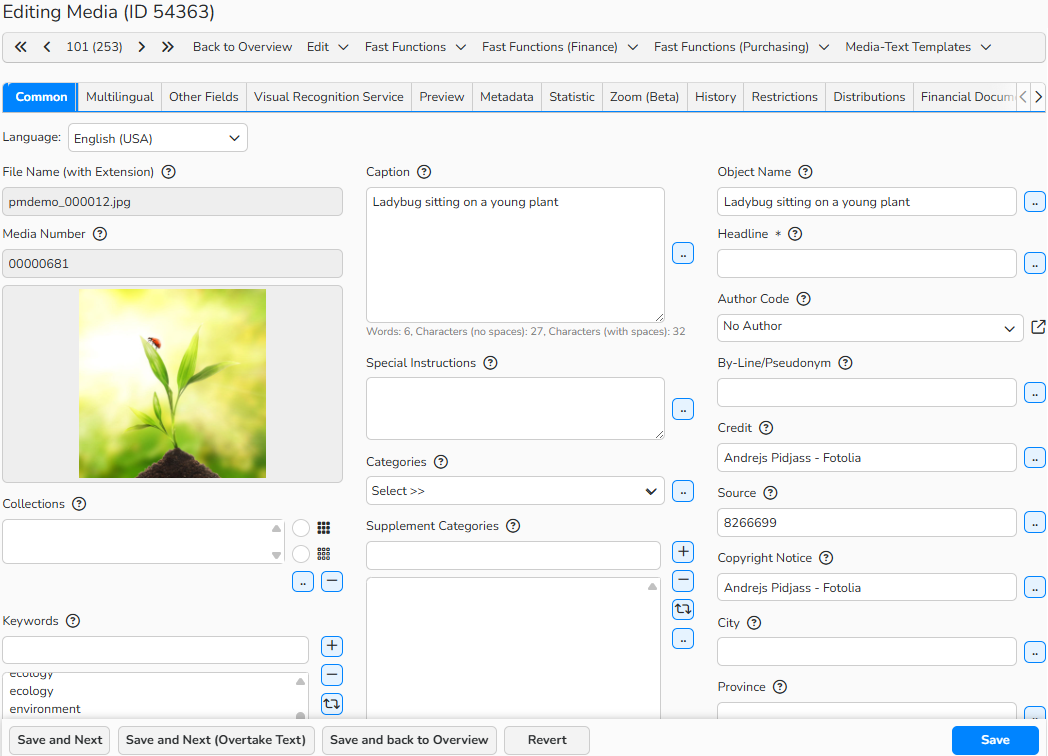
Media-editing form: the Common form with default database fields
Create media-editing forms
You can create any number of media editing forms and make them available to users. To create a media editing form, follow these steps:
- Navigate to Administration > Form Editor > Media Processing.
- Select Edit > New.
- In the New Form setup window, define the General Data settings:
- Name: Enter a name for the form. This name will also be used as the tab title.
- Mask is Active: Enable the option to display the form in the media editing area.
- Required Fields: When enabled, users will have to fill out all required fields to save changes
- Multilingual: Select the option to allow adding data in more than one language. The database fields are arranged in two columns, one below the other, with one language per column.
- Activation of Button: Select the Save button options. Activate at least one button.
- Click Save to display further configuration options.
- In the Form Configuration panel, pick a field from the Choose Database Field drop-down and click Add to Column to add it to the form.
- You can only add each database field to a form once.
- To reorder fields in the column, select a field and then use the Sorting options to move it.
- To remove a field from the form, select it and click Edit > Delete.
- Select a database field to configure it in the Selected Field Settings panel. Field settings options depend on a selected field type. They can include, for example:
- Database Field: Displays the name of the selected database field.
- Mandatory Field: Mark the field as mandatory.
- Save Text Input: Save the text you enter in the field to provide the autocomplete option. When a user starts typing in the field, it will offer input suggestions.
- Read-Only: Make the field non-editable.
- Display Word/Character Count: Limit input fields by character count.
- Default for Batch Processing: Choose how to handle new metadata during batch operations: Add to End, Add to Beginning, or Replace.
- Height (Number of lines): Set the size of a field box.
- Click Save.

Form field configuration: Active, Required Fields, and Save button options

Database fields added to the form and the field settings for the selected File Name field.
Configure preview image layout
In Administration > Form Editor > Media Processing, you can configure the way the preview images appear on a media-editing form.
In the Form Configuration panel, add the Preview Image database field and configure its settings:
- Show “Next” Thumbnails: Display preview thumbnails of the upcoming media files.
- Show “Previous” Thumbnails: Display preview thumbnails of the previous media files.
- Show Collection Thumbnails: Enable the thumbnail display of the media collections (series and CDs) associated with the media. This allows you to navigate from file to file within a collection.
- Number: Set the number of preview thumbnails displayed.
- Alignment: Choose between vertical and horizontal orientation of collection preview thumbnails.
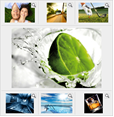
Preview Image settings: Next and Previous thumbnails display
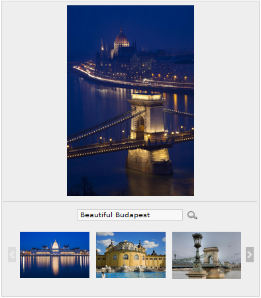
Preview Image settings: Associated collection thumbnails display
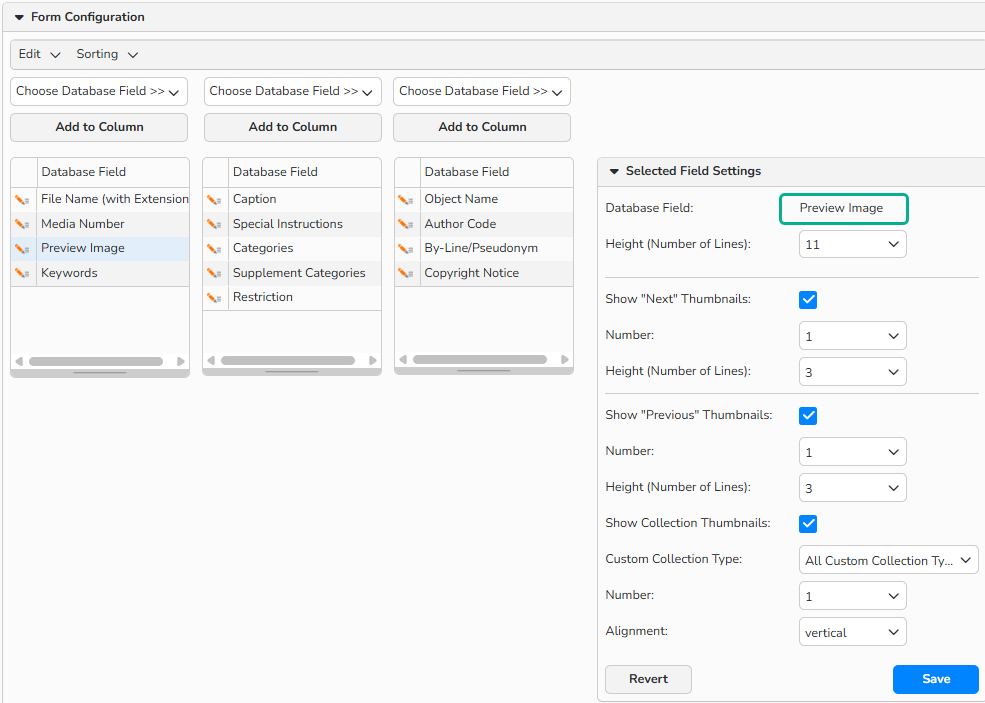
The Preview Image field: preview thumbnails setup
Manage access rights for the media‑editing form
In Administration > Form Editor > Media Processing, you can assign forms to specific users, so they see only the metadata fields relevant to them:
- In the form setup window, switch to the Access tab.
- Select the users and access groups from the list of unassigned data and click Add. Click Remove to cancel the selection.
- Click Save.
- You can review your settings in a corresponding Customer/Author/User record in its Accesses tab > Access to picturemaxx Backstage panel.

Form Editor: Access tab
Note
You can also activate media-editing forms when creating an access or access group. All available forms are listed in the Access to picturemaxx Backstage panel of a corresponding Access record. Learn more in User Access and Permissions.
Manage forms
View all the existing forms in Administration > Form Editor > Media Processing.
To create a form
- Click Edit > New.
To manage an existing form
- Double-click a form in the list or select a form and click Edit > Open.
- Edit the form and click Save.
- To duplicate a form, select it in the list and click Edit > Copy.
To delete a form
- Select a form in the list and click Edit > Delete.
Note
The integrated table functions allow you to search, filter, and sort records. For more information on these functions, as well as how to set up custom views and use the export function, see Advanced Table Views.
Keyboard Shortcuts
All Save buttons in the media-editing area have assigned shortcuts:
| Command | WIN | MAC |
|---|---|---|
| Save | CTRL + S | CMD + S |
| Save and Next | CTRL + ALT + S | CMD + ALT + S |
| Save and Next (Overtake Text) | CTRL + ALT + N | CMD + ALT + N |
| Save and back to Overview | CTRL + SHIFT + S | CMD + SHIFT + S |