
Company Data
Download as PDFOverview
Enter and manage your company’s address, contact data and other details in the Company Data area. Data from here will auto-populate your printable accounting documents, such as Invoices, as well as certain areas of your Webshop. If your company’s data changes in the future, it only needs to be changed in this one place.
This is also where you select the logo that will appear on your accounting documents. The logo should be the exact size you want it to appear on documents and must first be uploaded to your Document Management area in Administration.
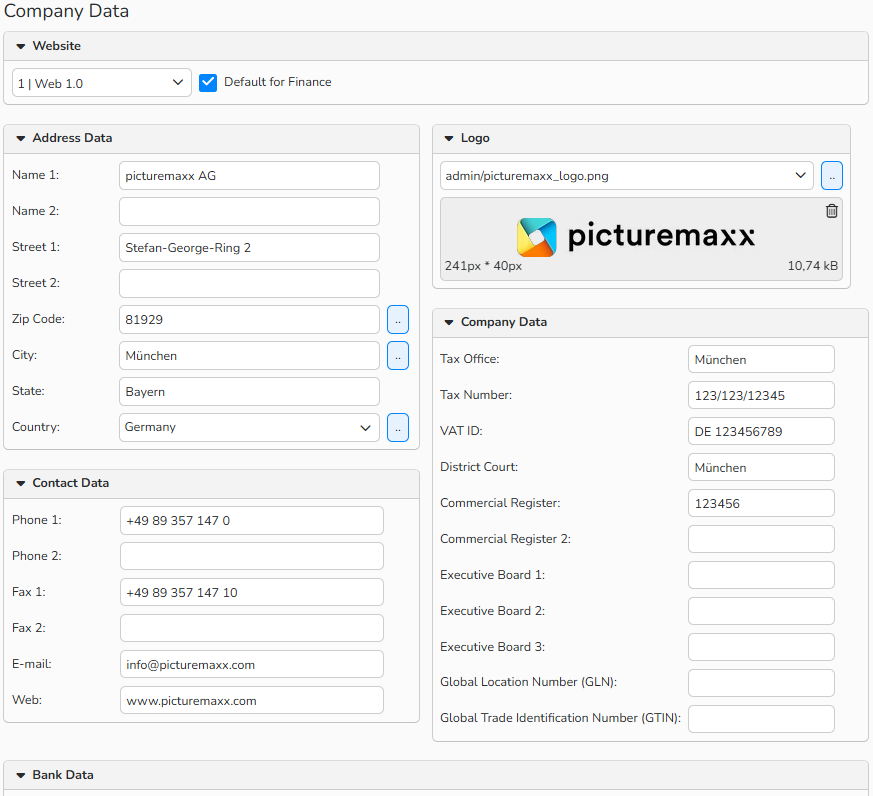
Company Data fields
Manage your company’s business data
You can easily manage your company’s business data in Backstage under Administration > Company Settings > Company Data.
If your company’s details change in the future, for example, the company’s address, you only need to update them in one place. The system will automatically apply the change everywhere it is displayed, including on your printable accounting documents.
- Go to Administration > Company Settings > Company Data.
- Optional for multiple websites. Select the relevant Website to which the data relates.
- This menu only appears if you manage multiple Websites through your picturemaxx Backstage.
- You can add company data for each separate Website.
- To use the data from one of the sites for your printable accounting documents, enable the Default for Finance option.
- In the Logo panel:
- First, upload your logo (see the Upload logo file section below)
- Select your logo image from the Logo drop-down menu.
- In the Address Data panel, enter your company address details.
- If you have stored ZIP Codes, use the […] button to select your ZIP Code and auto-populate the City field.
- In the Contact Data panel, enter your Phone, Fax, E-mail and Web data.
- In the Company Data panel, enter any relevant tax information for your company.
- In the Bank Data panel, you can add up to three different bank accounts.
- Use the […] button to select bank details that are stored in your system.
- Click Save.
Note
Use the button  to access system-provided postal codes and locations, countries, and bank details.
For more information, refer to FAQs Zip Codes and Bank Codes.
If you would like detailed information about document management, please refer to our FAQ Document Management.
Upload logo file
To display a company logo on your printable documents, upload the corresponding logo file to your Administration Document Management area.
The logo should be the exact size you want it to appear on documents.
To upload files to a Document Management folder, proceed as follows:
- Go to Administration > Templates > Company Logos
- Click Upload Files to open the Upload dialog.
- In the dialog, click Add Files to select file from your computer or simply drag and drop the files directly from your Explorer (Windows) or Finder (Mac) into the upload area.
- Click Upload All to start the upload.
- After the upload completes, click Back to Overview.
- After the file uploads successfully, it appears in the Document Management panel. You can then select the logo file from the Company Data area.
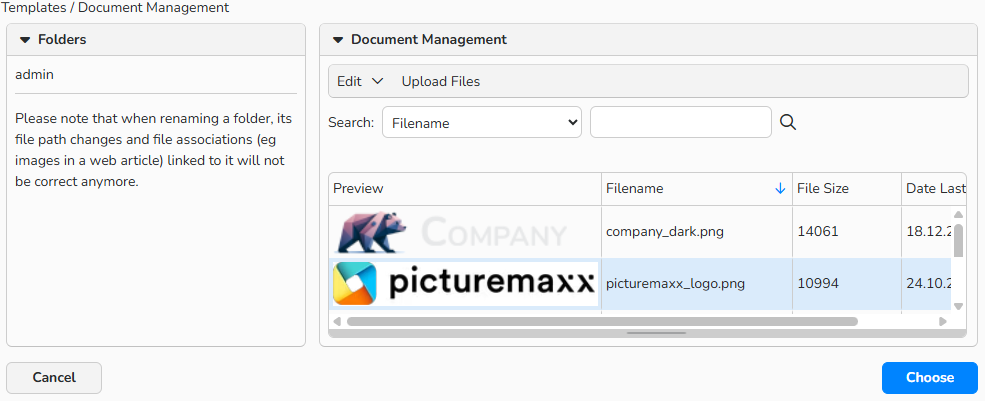
Document Management: List of uploaded files