Smart Linking
Overview
Organize your content with categories and tags to help visitors find relevant images and videos faster. With picturemaxx Drupal CMS you can showcase content in a tailored way across multiple pages without having to create it from scratch each time. Structuring your content with the users in mind also supports better search engine visibility.
Categories
Every image provider faces the challenge of making large image libraries easy for customers to browse. A simple solution is to organize your content by topic, for example, by creating a Collection for each subject area.
When creating a collection simply select the categories you want to display. All images assigned to those categories will automatically appear in the Collection, so you don't have to select individual images over and over again.
Create categories
To create a new category:
- In the Main Administrative Menu, navigate to Structure > Taxonomy > Categories.
- Click +Add term. In the Name field, enter the name of the category as you want it to appear in the menu (for example, Architecture, Portrait, or Landscape).
- Click Save.
The new category is now available and can be assigned to your images and videos.
Assign categories to images
To assign categories to your content:
- In the Main Administrative Menu, navigate to Content > Media.
- In the Media list, locate the asset you want to update and click Edit. The page editor opens.
- Scroll down to Linking and expand it. All available categories and subcategories are listed here.
- Choose the categories you want to assign to the selected asset.
- Save your changes.
Now you can use categories to filter content in a collection.
Note
You can assign several categories to a single photo or video.
Filter and organize collections with categories
To add filter options to a collection:
- Open the page that contains the Collection you want to configure.
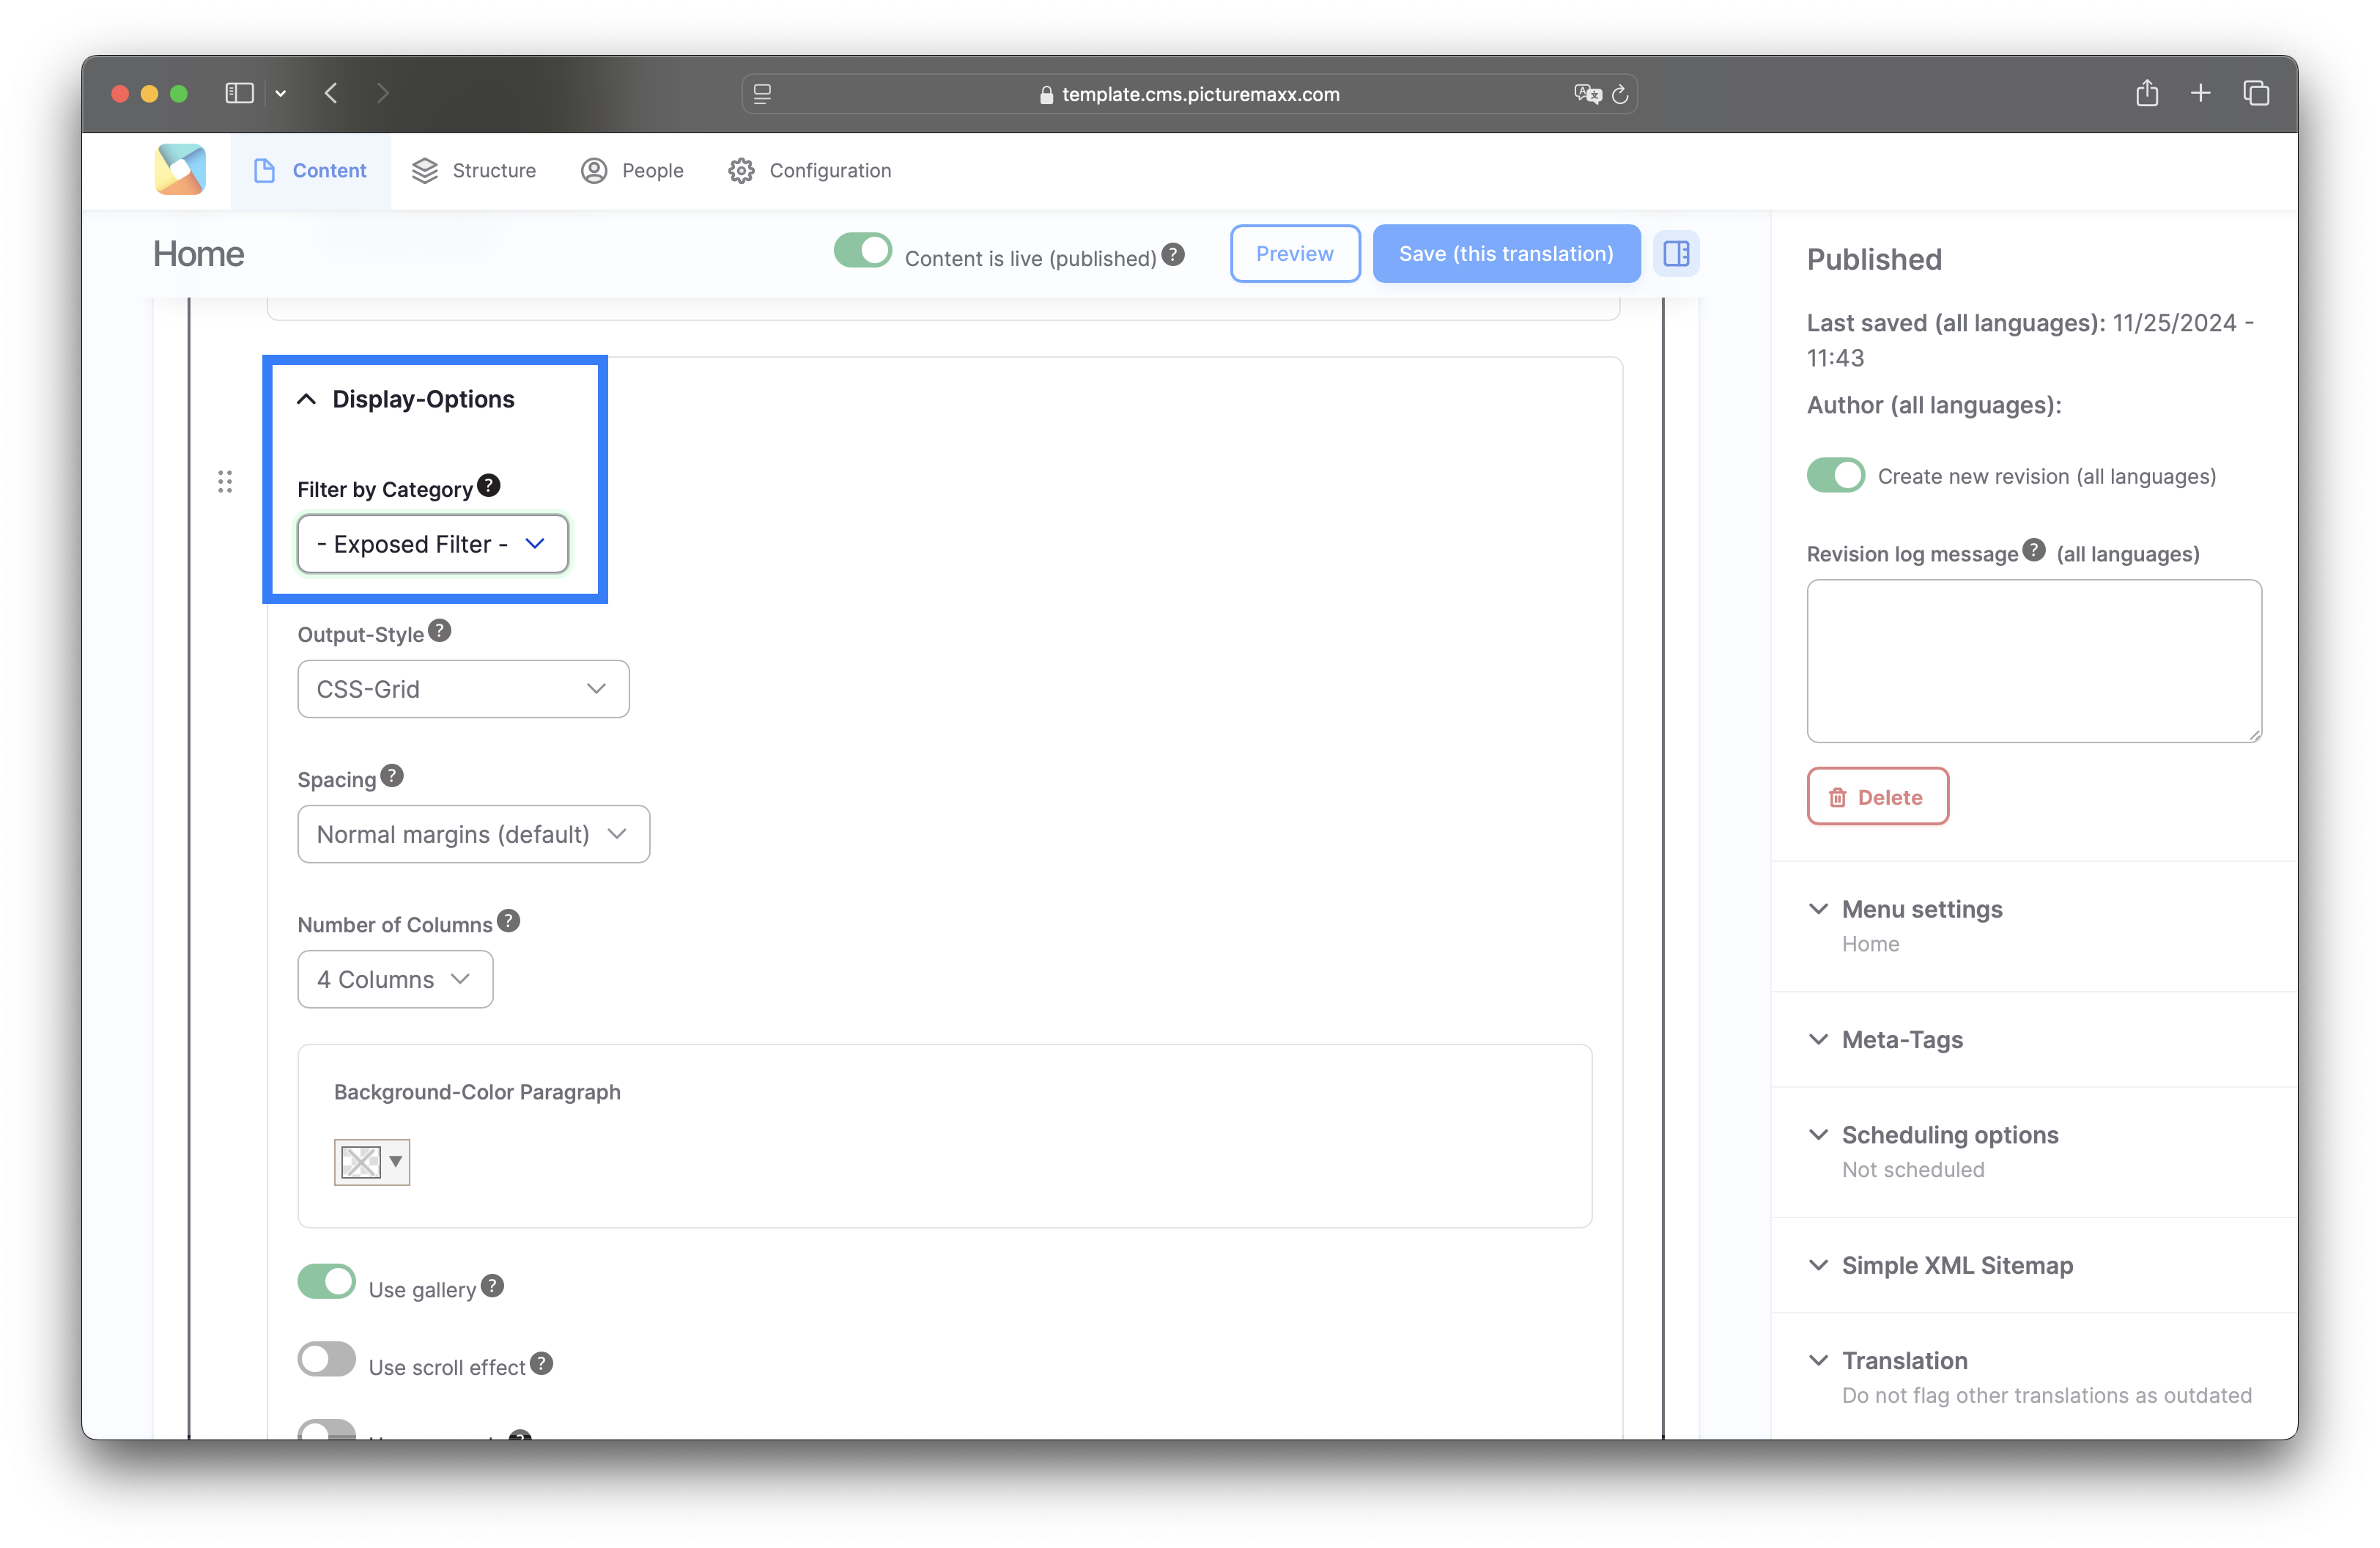
- In the Collection settings, expand the Display Options section.
- In the Filter by Category dropdown, choose one of the following options:
- None
No category filters are displayed. - Exposed Filter
All categories assigned to the images in the collection appear as filters above the collection. Visitors can click these filters to browse content by category. - Select a category from the list to display only assets assigned to that category. No filter options are displayed for the collection.
- None
Important
Categories don’t add media to collections
When you assign a category to media items, they do not automatically appear in collections. Add images and videos to the collection first, then use categories to filter them.
The example below shows a Collection configured with the Exposed Filter option, allowing visitors to filter content by category directly from the collection page:
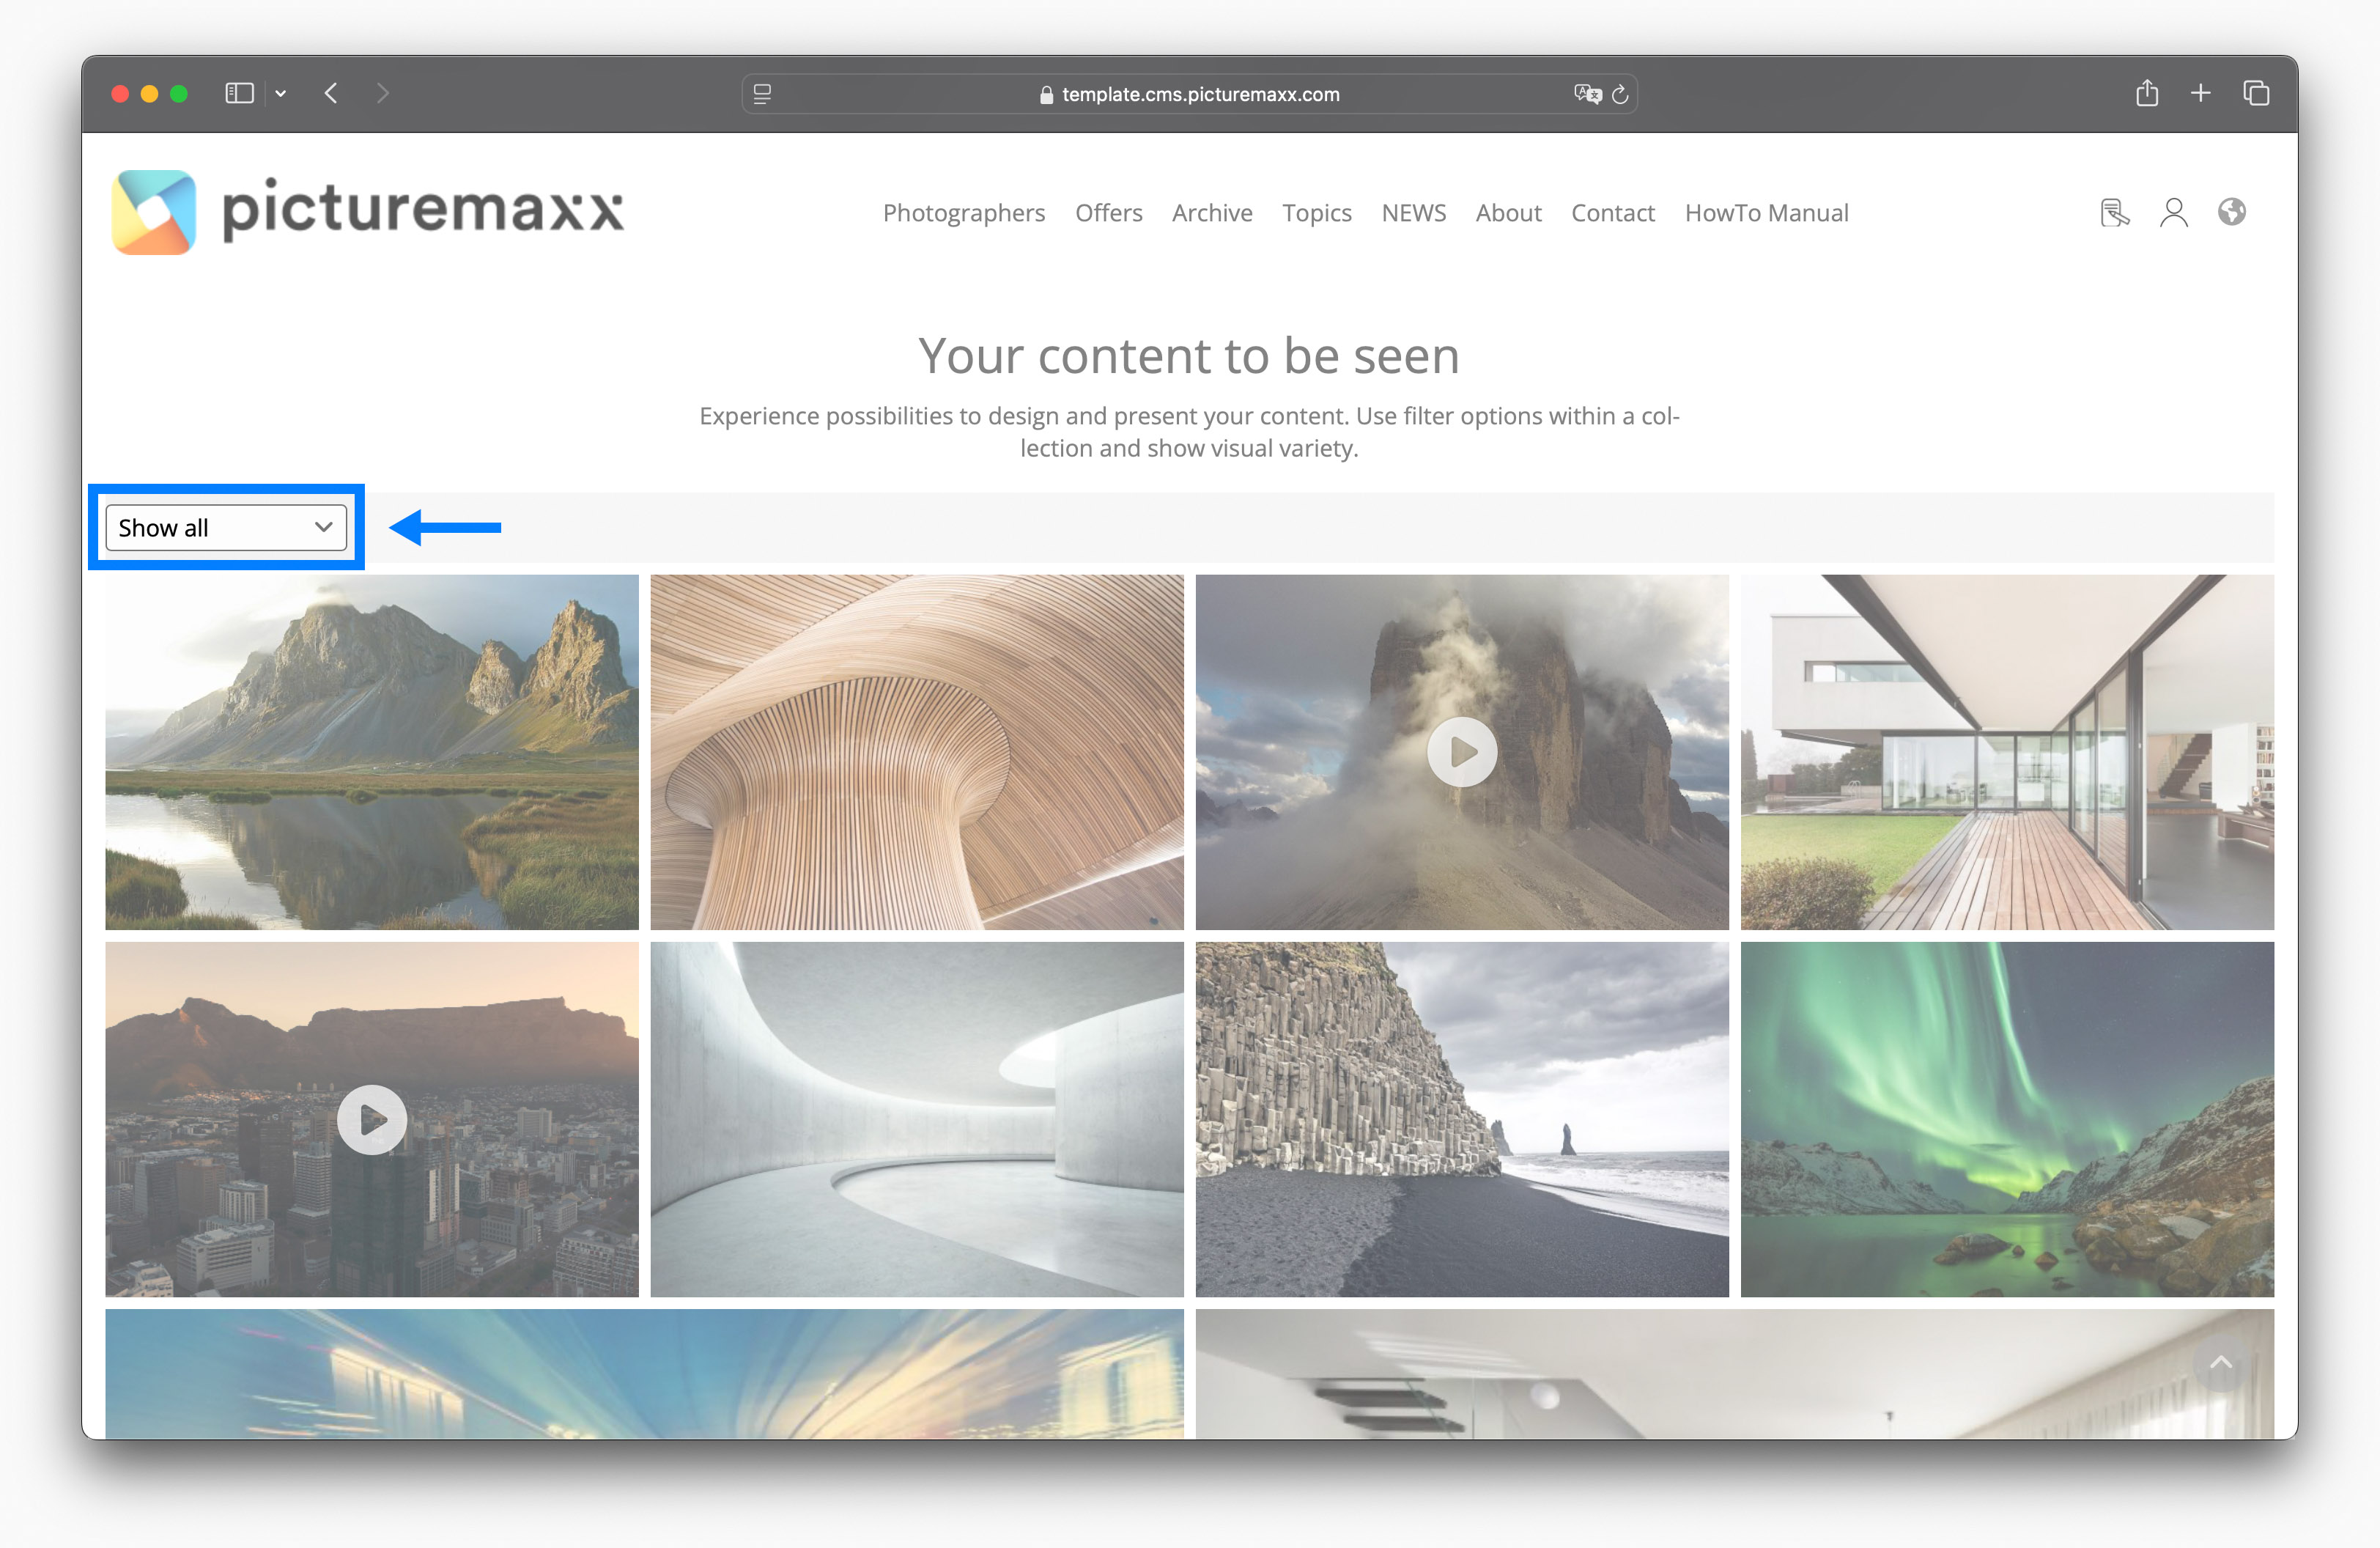
Visit the collection on our Demo landing page and try the category filters yourself.
Quick Demo: Create a category
Quick Demo: Use categories as filters in collections
Tags
Tags help you organize and filter content types such as Artists, News Articles, and Events. Unlike categories, which are used to group images and videos, tags are typically used behind the scenes to control which content appears in a View Section.
For example, you can tag several news articles with Contest & Awards and then configure a View Section to display only content with that tag.
This makes it easy to create topic-specific content lists and overviews throughout your website.
Create tags
To create a new tag:
- In the Main Administrative Menu, navigate to Structure > Taxonomy > Tags.
- Click +Add term. In the Name field, enter the tag name (for example, Authors/Artists, Cities, Topics, or Contest & Awards).
- Click Save.
Assign tags to content
You can assign tags to the following content types:
To assign one or more tags:
- Go to Content, locate the content item you want to update, and click Edit.
- In the Content list, select a respective content type and click Edit next to it.
- Scroll down to the Linking section and expand it.
- In the Tags field, enter one or more tags.
- As you type, the system displays matching tags for you to select.
Note
You can assign multiple tags to a single content type.
Use tags in a View Section
Use tags to display only content related to a specific topic in a View Section.
For example, tag multiple news articles with Contest & Awards and use the same tag as a filter in a View Section. The section will then show only articles related to that topic.
To filter a View Section by tag:
- Open the page containing the View Section or add a new View Section.
- Open the View Section settings.
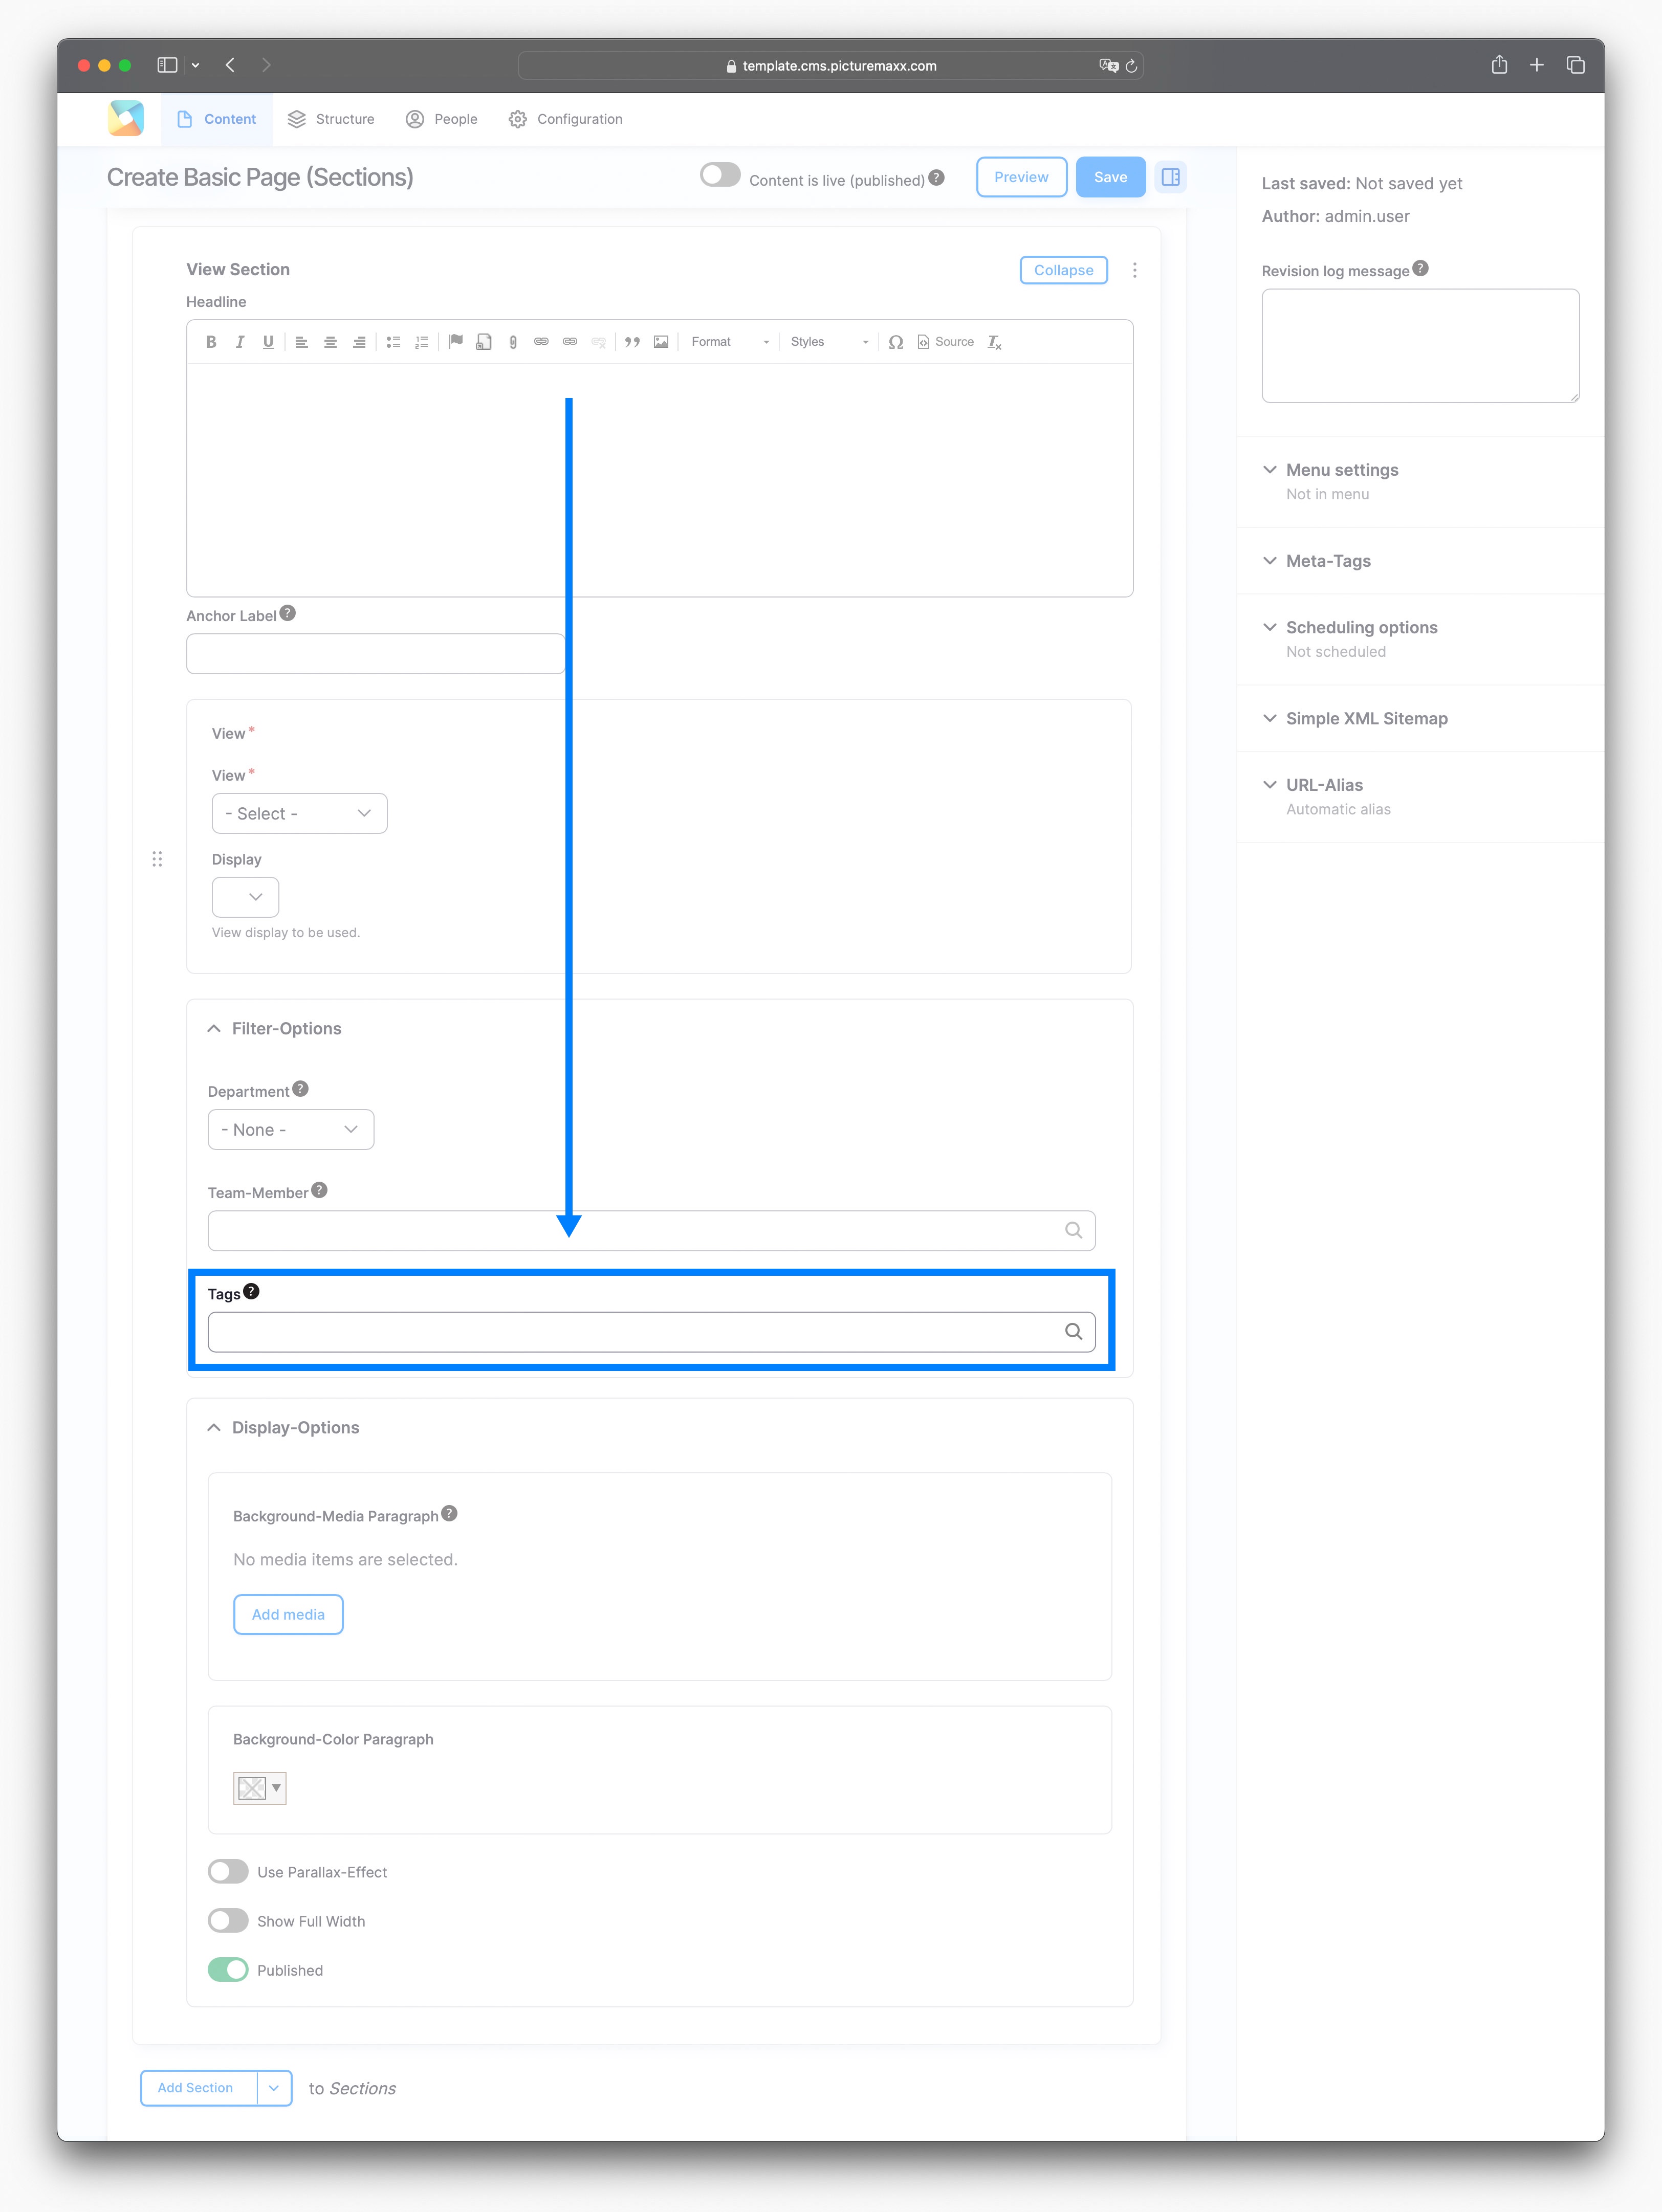
- In Filter Options, select the tag you want to display.
- Save the page.
The View Section will now automatically display content assigned to the selected tag.