Collections
Overview
Use Collections to organize images into galleries and display them on your website. Choose from a variety of layout and display options to customize how your collection appears.
You can edit existing collections at any time. Add new media files, remove or edit existing ones.
Before you start
Before you can display a collection on your website, upload your media assets to picturemaxx Drupal CMS. See Upload and edit media.
Create a collection
To organize your images into a collection:
- In Main Administrative Menu, navigate to Content > Media > Create a Collection.
- In the Name field, enter a descriptive title for the collection.
- Click the Add media button to open the media library. There you can select images and/or videos and upload new media assets.
- Click the edit icon on each media file in the collection to add or update image name and alternative text (alt text).
- Meaningful and descriptive alt text improves accessibility and helps search engines understand your content. For more information, see SEO.
- (Optional) Link each media asset to the same target. You can either enter a URL directly, or start typing the content title and autocomplete will suggest matching items (for example, another page on your website).
- Save the changes.
Edit an existing collection
To modify a collection or add new media assets:
- Navigate to Content > Media.
- Locate the collection in the Media table by setting Filter Type to Collections, or searching by Media Name.
- Click Edit in the corresponding collection row. The Edit Collection page opens.
- Add, remove, or rearrange images and videos as needed.
- Click Save to apply your changes.
Important
Updates to a collection are immediately applied to all pages that use that collection.
Quick Demo: Organize images into a collection
Quick Demo: Rearrange images and add new ones to an existing collection.
Add collection to a page
After you have created a collection, add it to an existing page.
Important
You can add collections only to Basic Page and Artist page.
- In the Main Administrative Menu, navigate to Content.
- In the Content Overview table, locate the page where you want to add the collection, and click Edit. This opens the page editor.
- Scroll to the bottom of the page editor. From the Add Section dropdown menu, select Add Collection.
- (Optional) In the Headline field, enter a title or descriptive text.
- Click Add media. The Add or select media dialog is displayed. Use the search and filter options to find an existing collection.
- Select the desired collection and click Insert Selected to add it to the page.
- Now you can customize the collection layout using the available display options. See Configure display options below.
Quick Demo: Add a collection to an existing page and configure its gallery appearance.
Configure display options
Expand the Display Options section and choose the output styles to showcase your image collections.
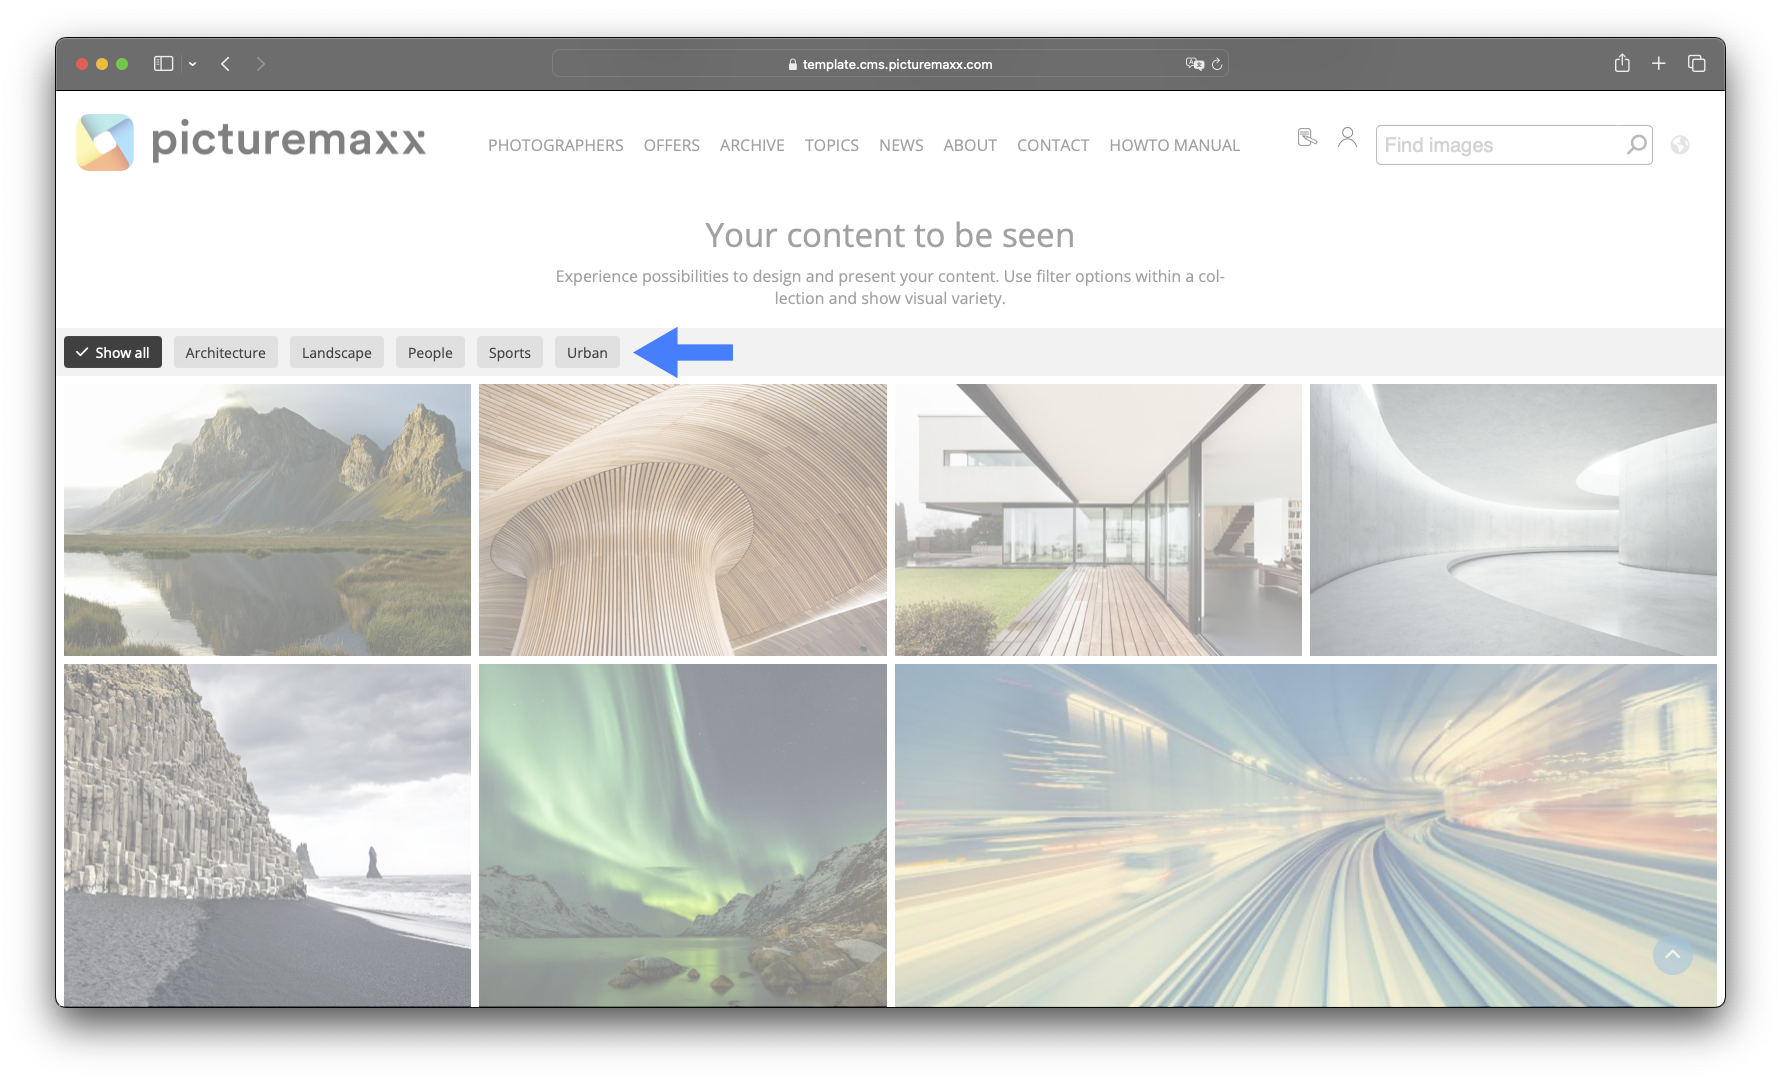
Filter by Category
Display only media assets tagged with a specific category. You can also expose the filter to visitors, allowing them to filter the collection themselves
Important
The option does not work with Scroll Effect activated.
Output Style
Choose how the collection is arranged on the page. See Output Styles below for visual examples.
Spacing
Control the spacing between collection items.
Tip
Wide margins work best with three or fewer columns.
Number of Columns
Select a number of columns. See Output Styles below.
Background Colour Paragraph
Set the background color of the collection section.
Use gallery
Activate the option to show your images in a full-screen lightbox gallery. Open the gallery by clicking an image.
Use scroll effect
Enable this option to apply a simple scrolling animation to collection images. For the best visual results, combine this option with wide margins and a smaller number of columns.
Note
The scroll effect is not recommended when using the Justified Layout output style.
Use grayscale
Display images in grayscale. The original colors are shown when visitors hover over an image.
Show artist
Display a link to the artist's portfolio on images and videos.
Show description
Display the image description as a caption.
Text on hover
Show descriptive text when users hover over an image.
Show Full Width
Display the collection across the full width of the page..
Published
Make the gallery visible to website visitors. If deactivated, only you can see the gallery.
Output styles
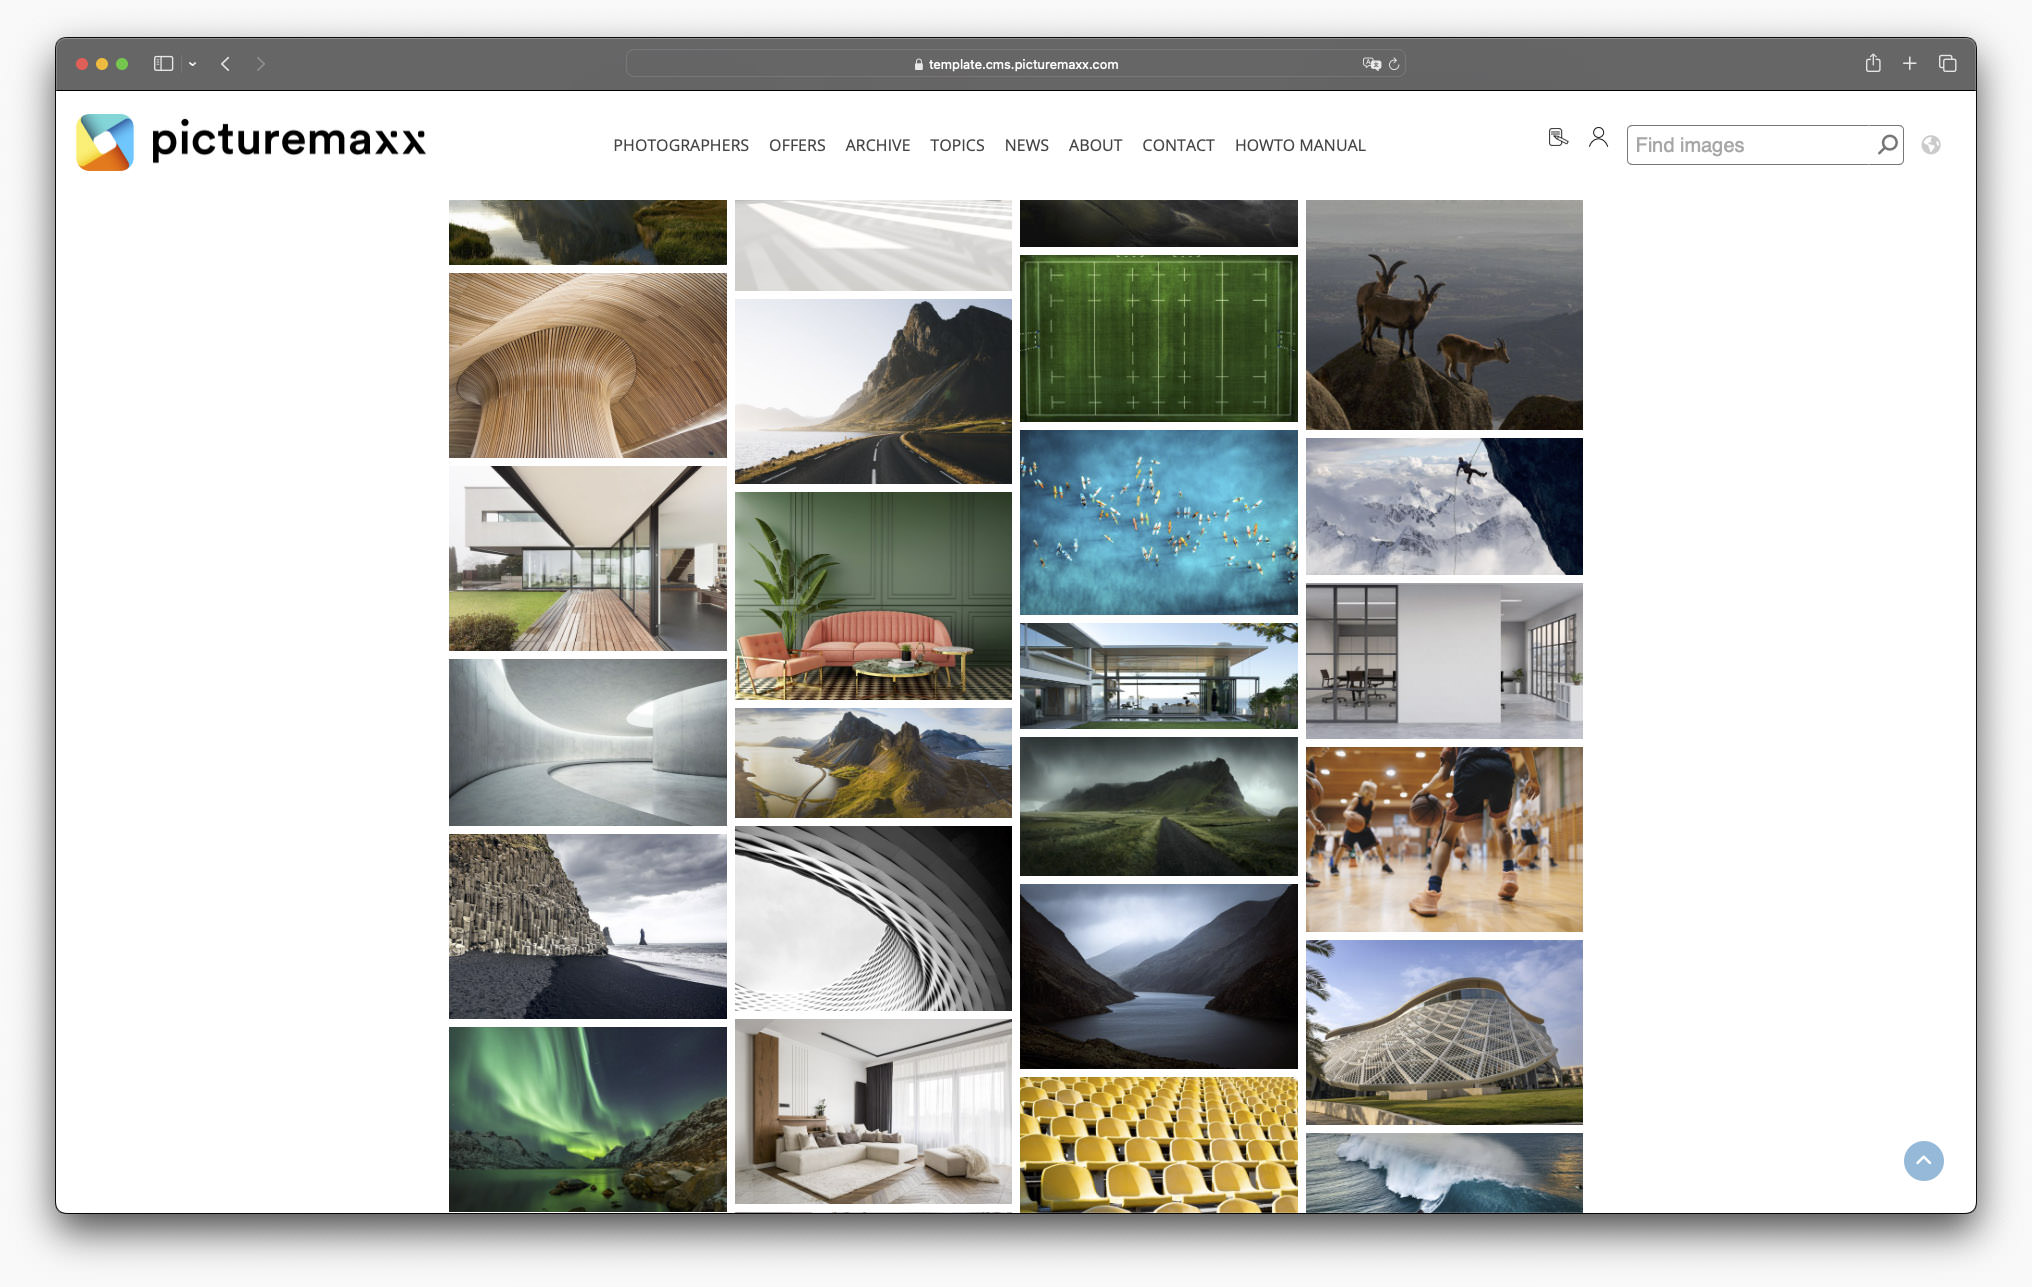
CSS Columns
Uses the photo aspect ratios. Items flow from top to bottom within each column, not from left to right across rows.
Spacing: normal margins
Number of columns: 4
Background: none
✔️ Use gallery
Demo Page: Collection layout using CSS Columns
CSS Grid
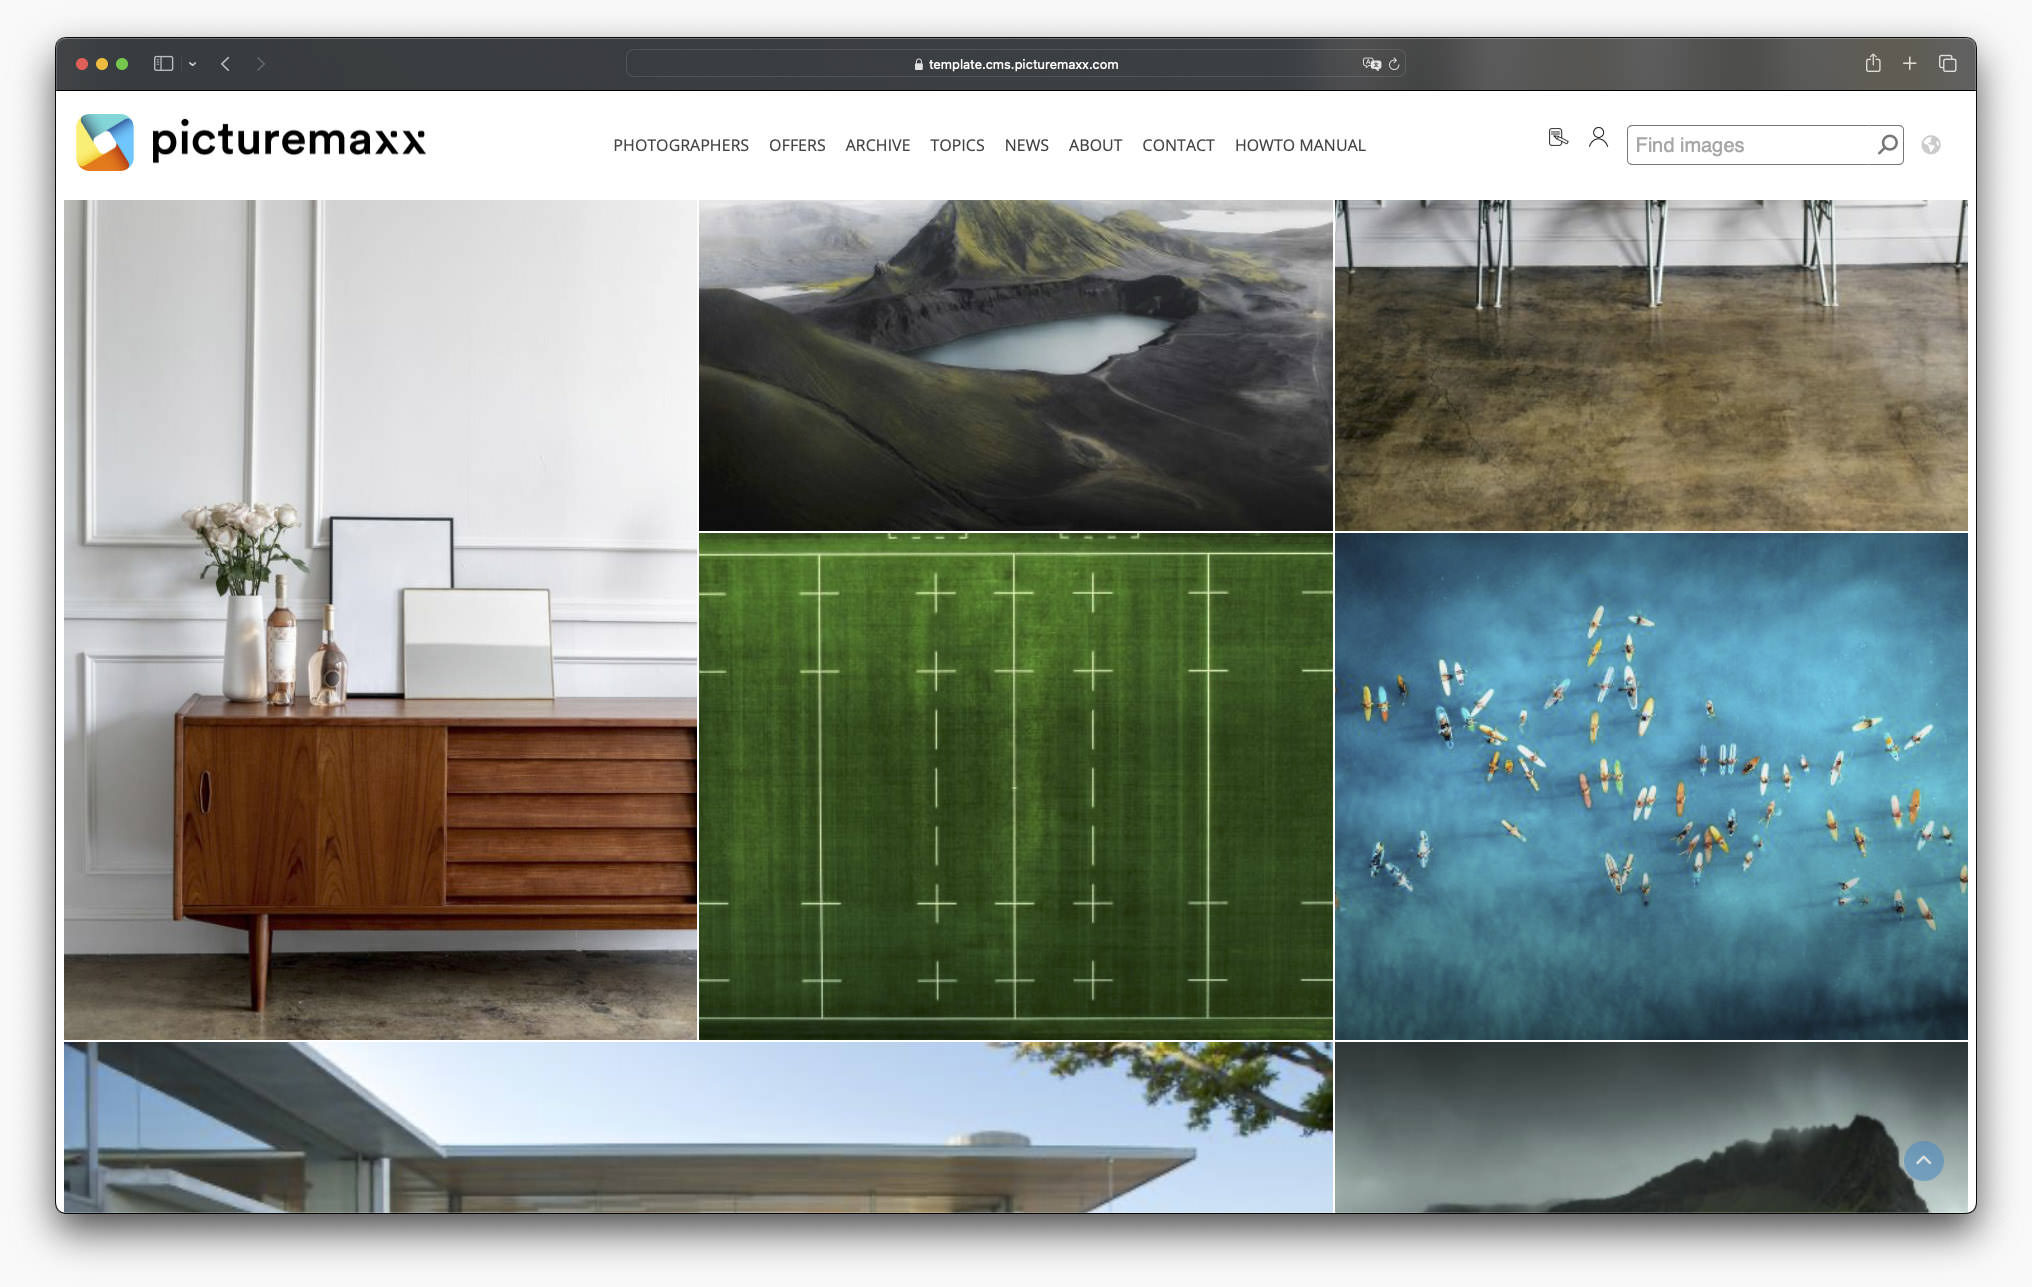
Creates a tiled look. Items with unique aspect ratios or dimensions can be featured more prominently. The order is mostly horizontal, though variations in the grid introduce visual breaks.
Spacing: small margins
Number of columns: 3
Background: none
✔️ Use gallery
✔️ Show full width
Demo Page: Collection layout using CSS Grid
CSS Row
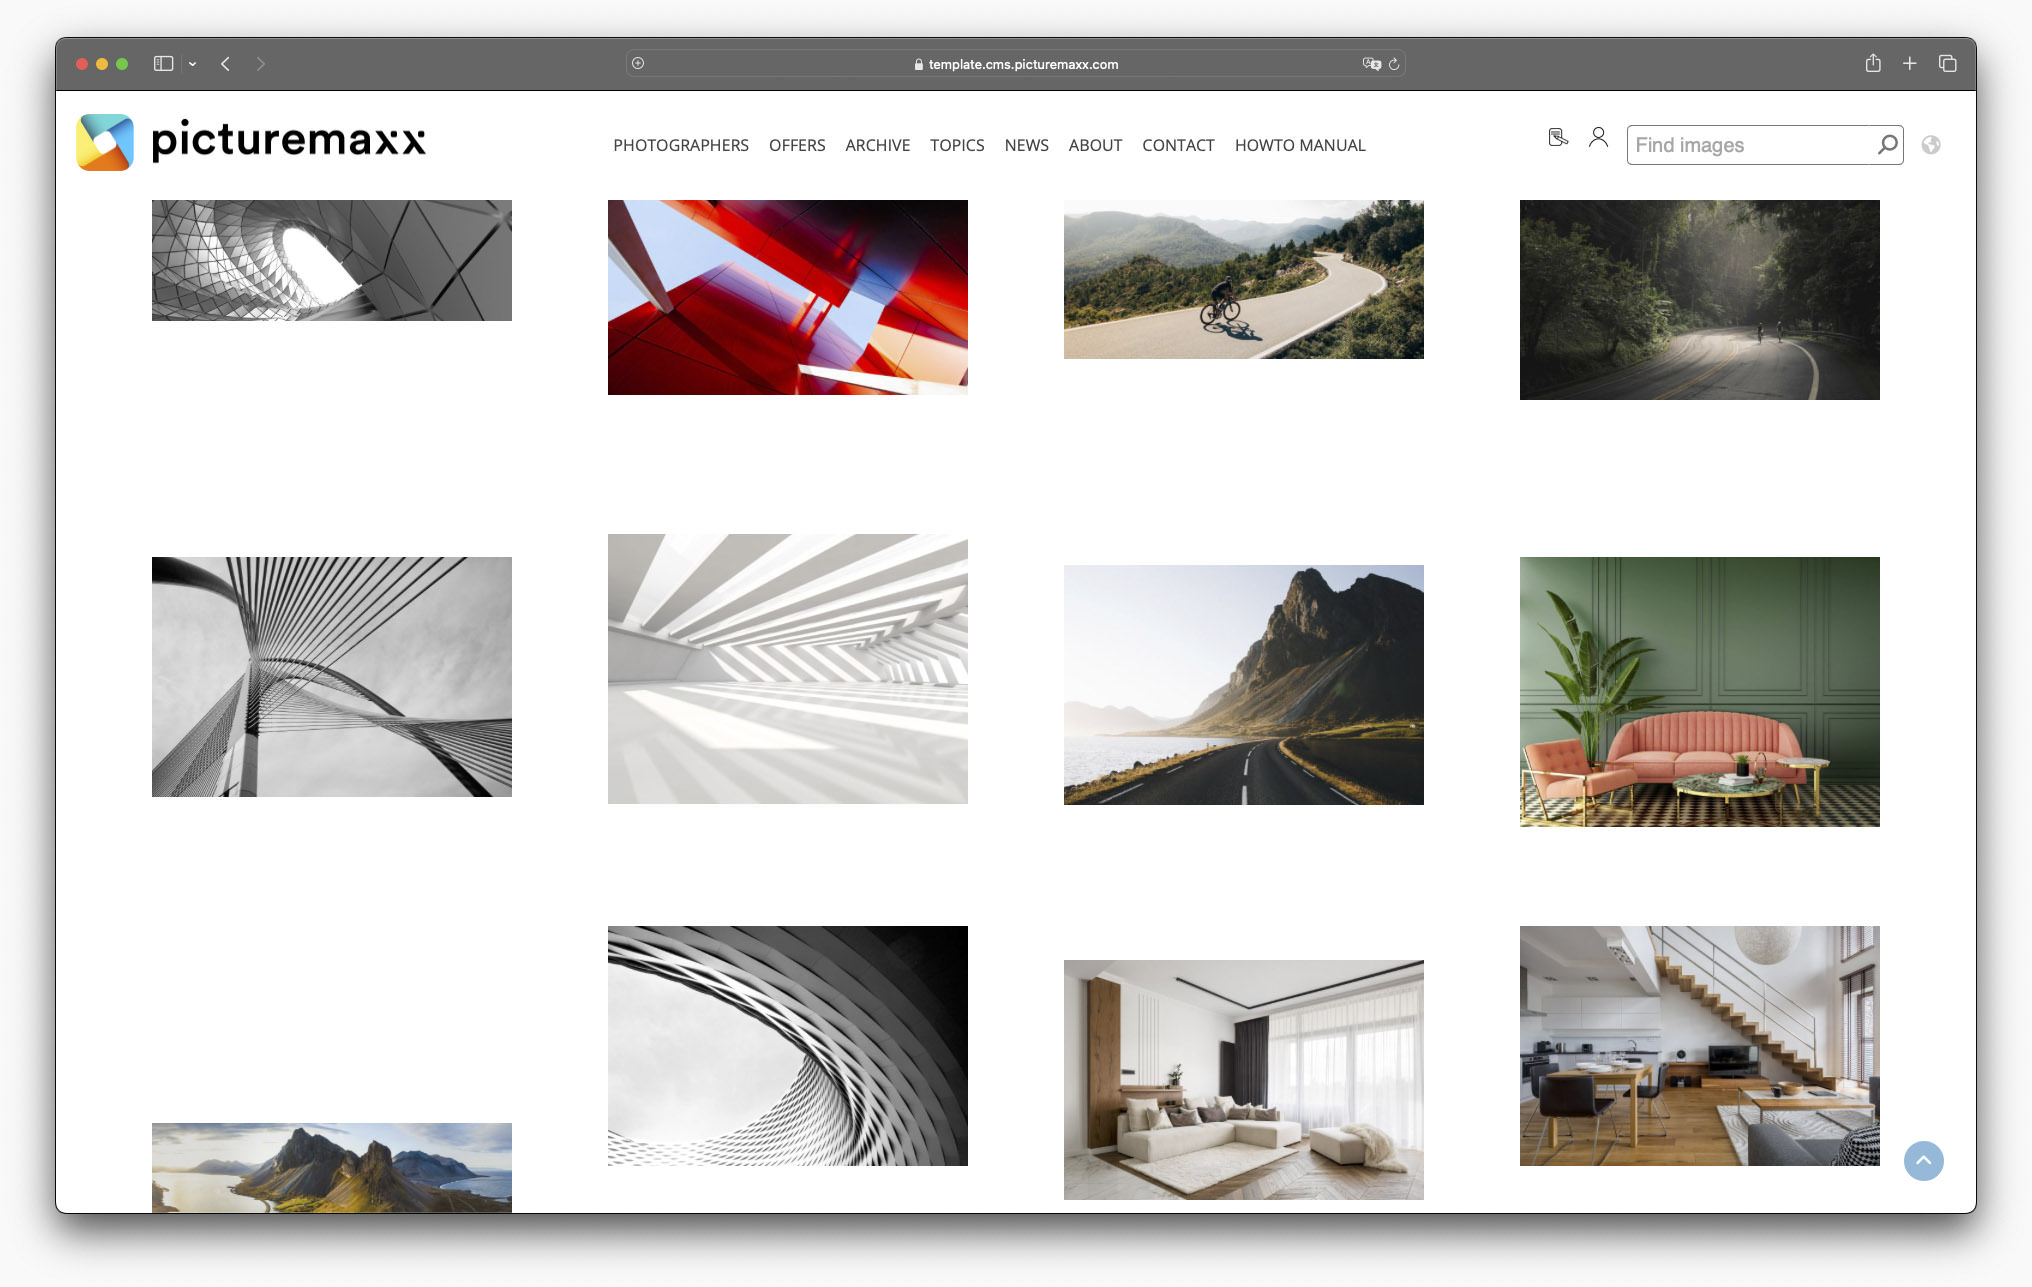
Uses the photo aspect ratios. The items always go left to right. Empty space may appear within rows, as gaps are not filled when images have different aspect ratios.
Spacing: wide margins
Number of columns: 4
Background: none
✔️ Use scroll effect
✔️ Show full width
Demo Page: Collection layout using CSS Rows
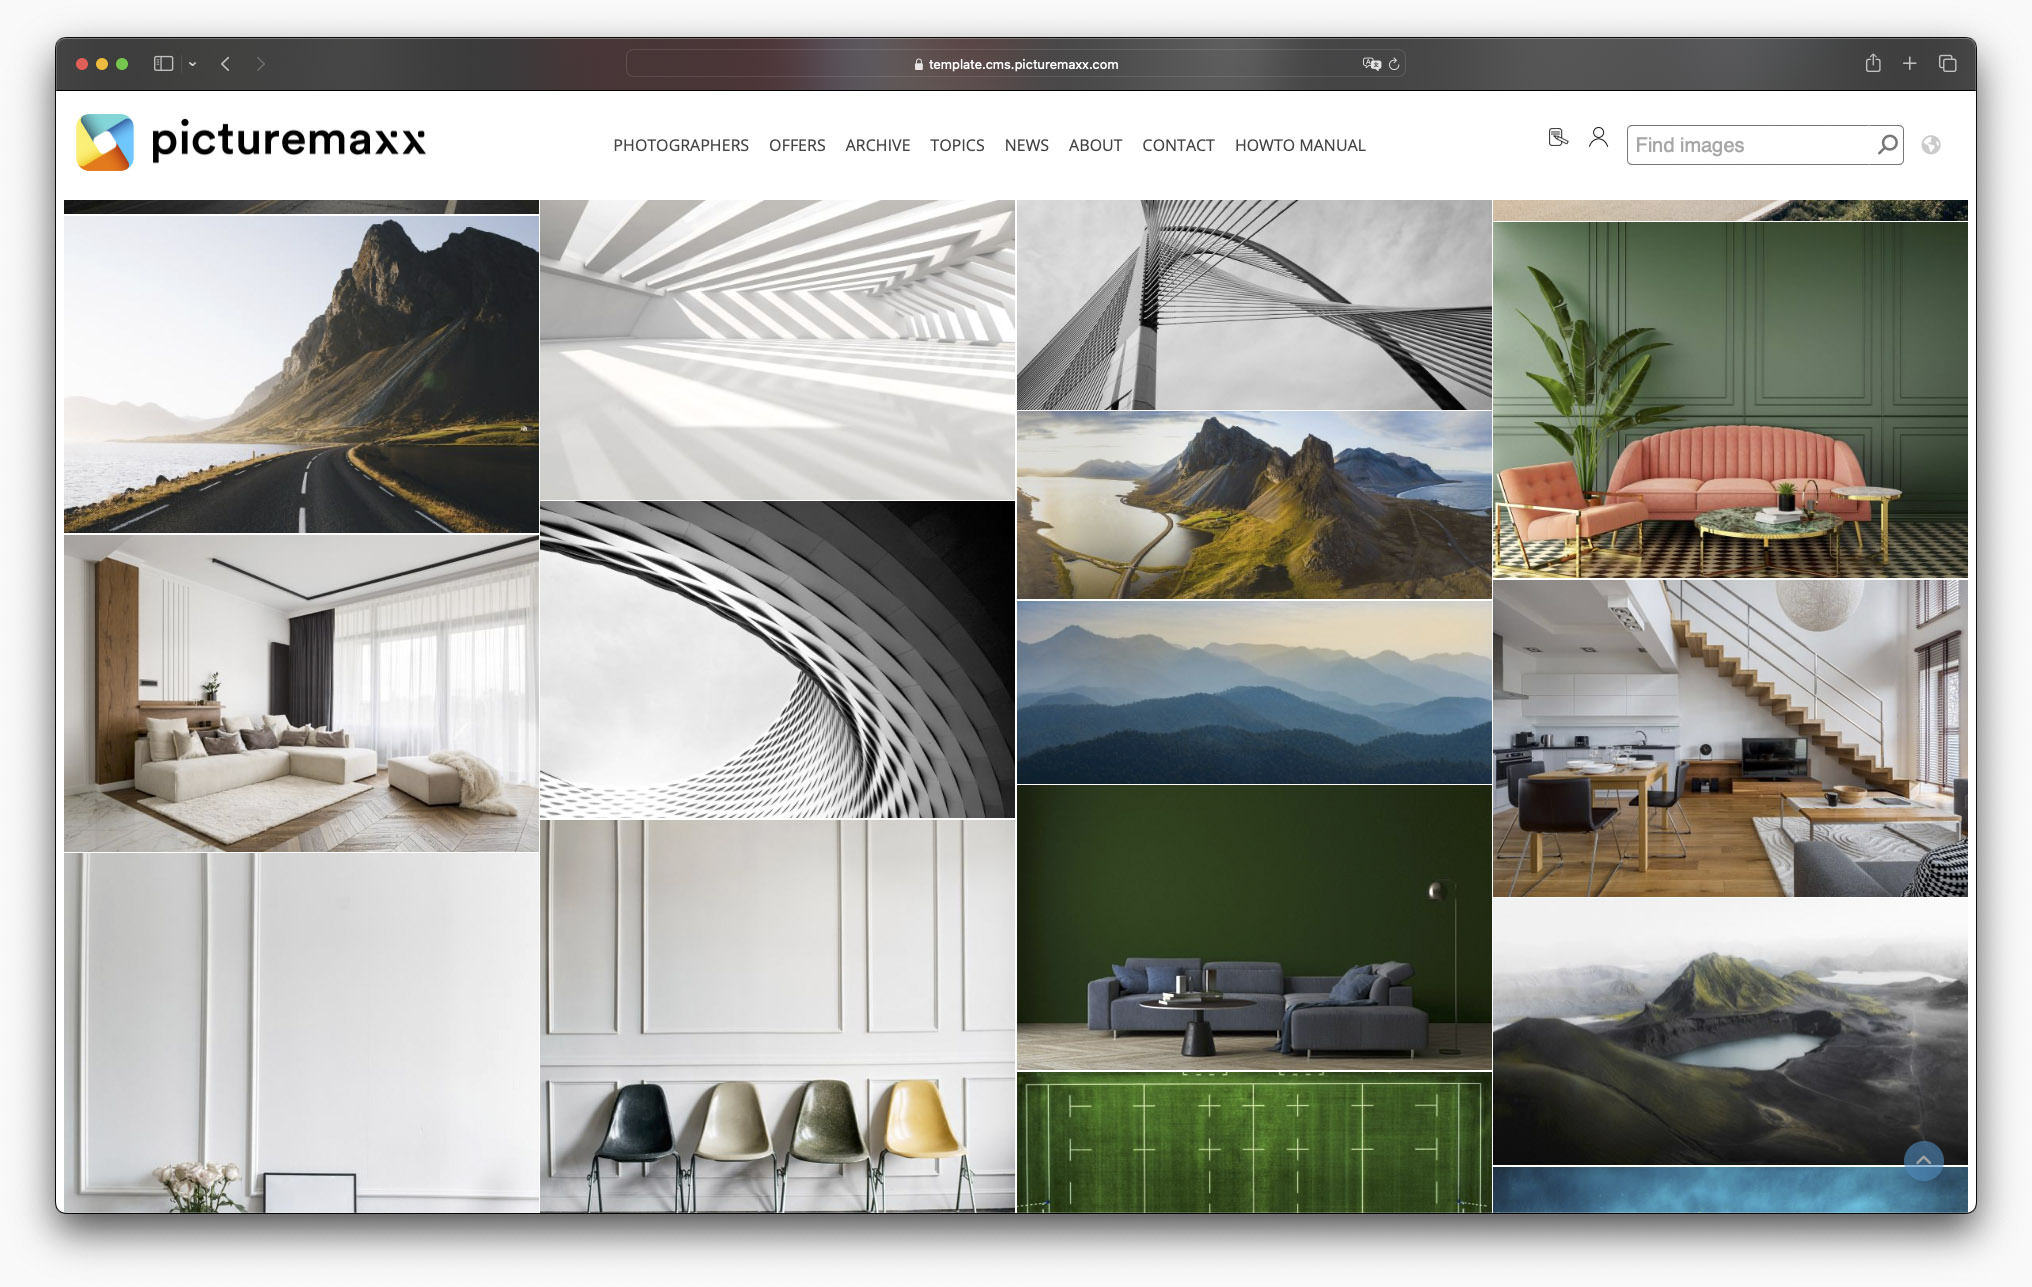
Masonry Layout
Photo aspect ratio is used. Images do not stick to a strict grid with gaps after smaller items, they move up and fill the gaps.
Filter: Exposed Filter
Spacing: small margins
Number of columns: 4
Background: none
✔️ Use gallery
✔️ Show full width
Demo Page: Collection output using Masonry Layout
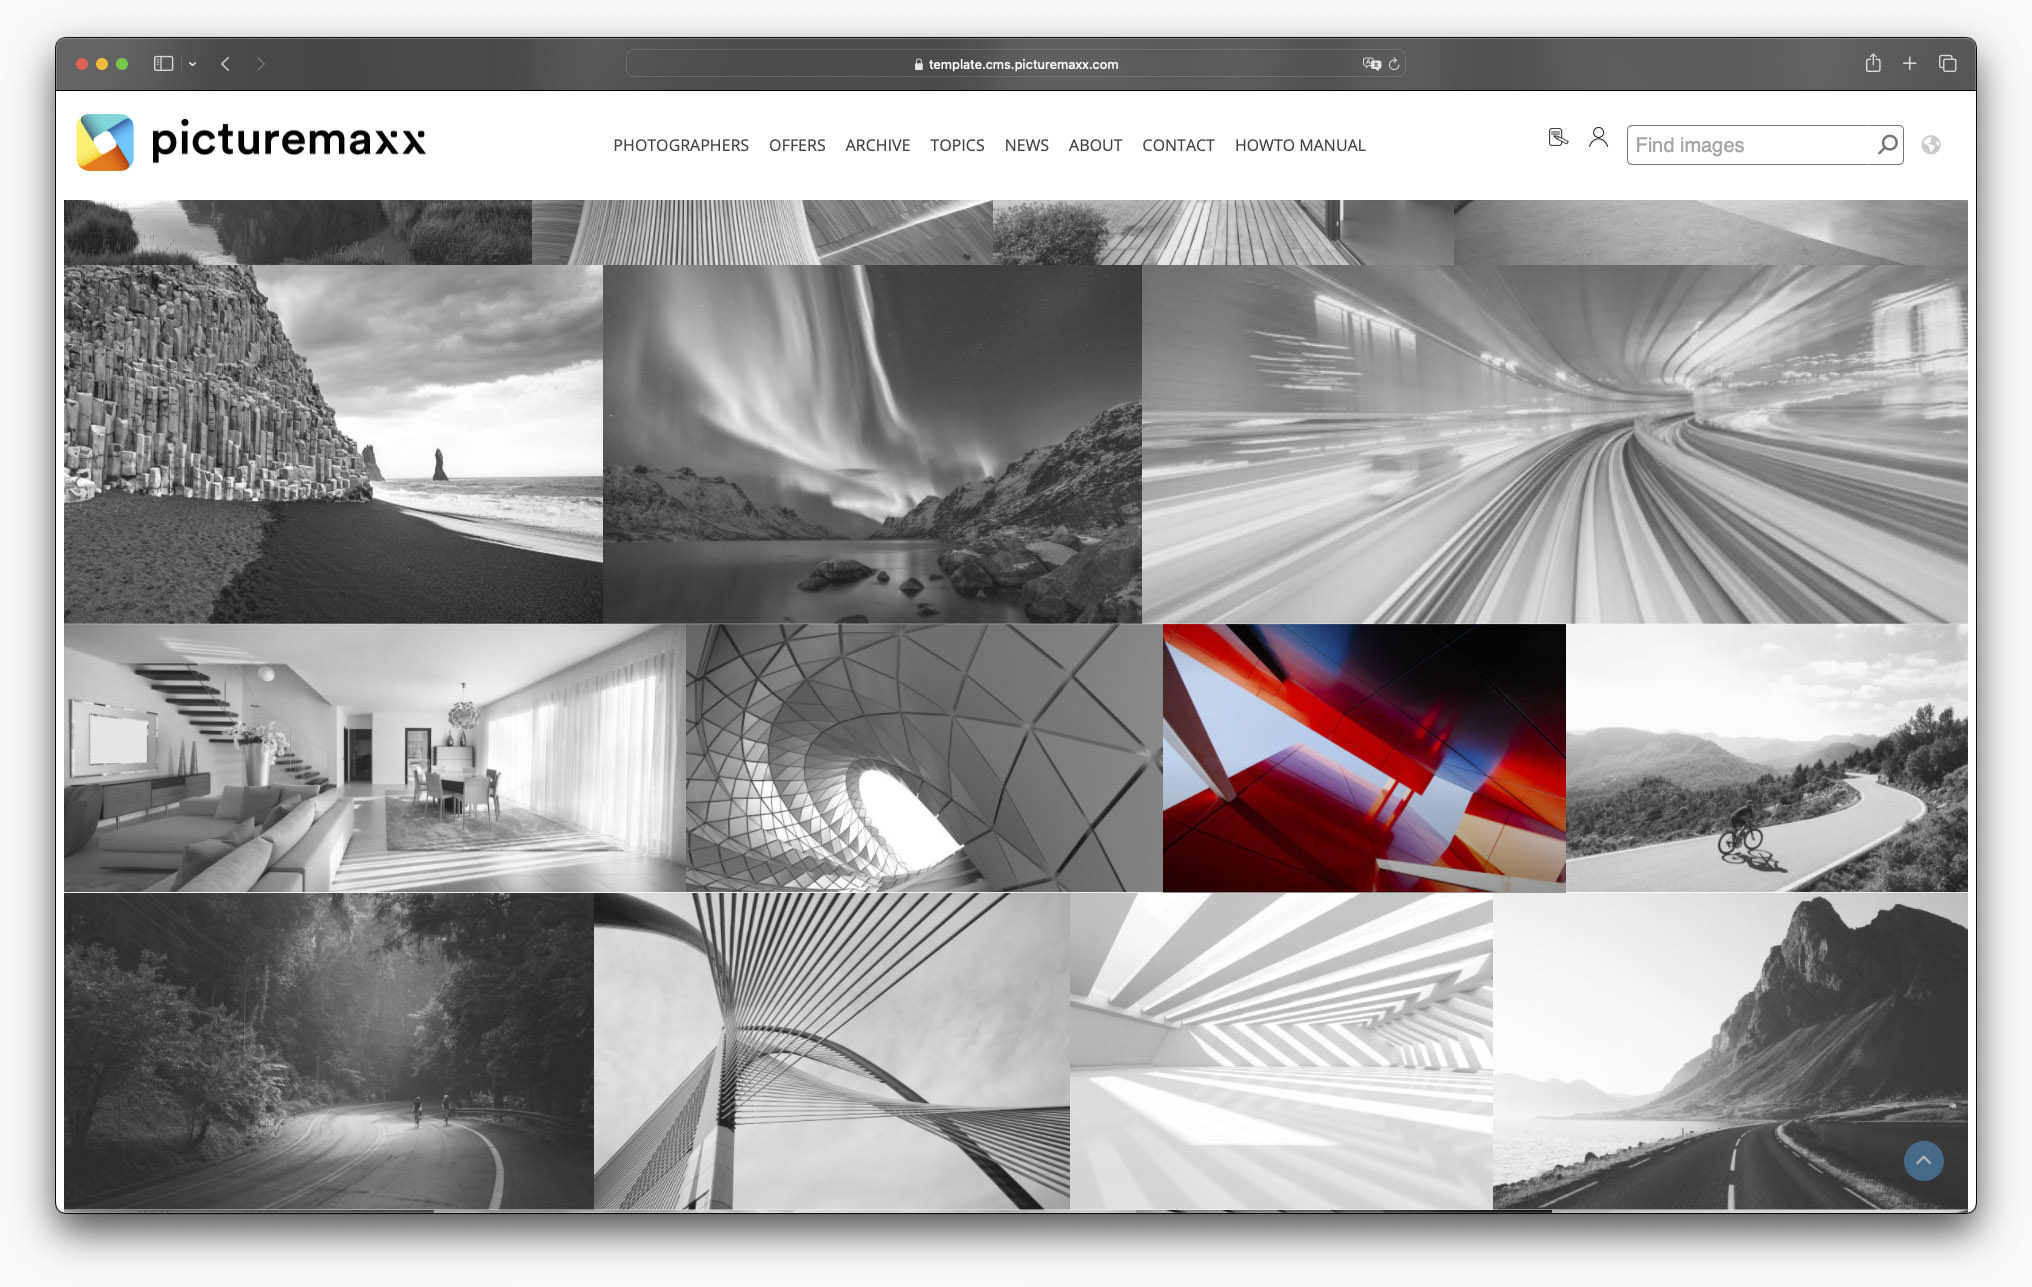
Justified Layout
Photo aspect ratio is used. Images are arranged in a neat way, a brick wall-like layout.
Filter: Exposed Filter
Spacing: no space between images
Number of columns: 5
Background: none
✔️ Use gallery
✔️ Use gray scale
✔️ Show full width
Demo Page: Collection output using Justified Layout
Add filter categories
You can enable filtering for a collection, visitors can then filter the displayed images by category. If more than five categories are available, they are displayed as a dropdown menu. Try it out on our Demo Page.
To learn more about categories and how to assign images to them, refer to Smart Linking.
Note
Filtering does not work with Scroll Effect enabled.