
Basic Page
Overview
You can create as many pages on your website as needed and link them through the website’s Navigation Menu.
There are different content types to build your pages. The most flexible and commonly used content type is Basic Page. It is built by adding individual sections that display various paragraphs. For example:
- Section for text and images
- Collection for image galleries
- Slide for slideshows
- Columns, Text & Media to display content in multiple columns with images and text.
Additionally, picturemaxx Drupal CMS offers you other custom content types, such as News Articles, Events, Locations, and Artist. Learn more about these in Content Types.
Text Editor available across all content and paragraph types, provides tools to add and format text, include links and add media.
Create a basic page
The Basic Page is a standard template with various content layout elements - Paragraph Types. There is a wide variety of Paragraph Types to choose from: a plain Section, Slides, Columns Text & Media, Forms, Maps, and many more. These elements can be combined to create your ideal page layout.
To create a Basic Page:
- In the Main Administrative Menu, go to Content > Add Content > Basic Page.
- The page editor opens.
- Fill in the setup fields:
- Title
Enter a clear, concise title for the page. The title is also used as a meta tag in the source code, URL alias, and as a page label in administration screens. - Language
Select the page´s language. - Tags
Assign tags to create relations between pages. For example, Publications and Events that use the same tag automatically appear at the bottom of a section. - Introtext
The Intro Text appears at the top of the page and introduces your content. Use it to present a brief overview or teaser for your page. - Add Section
Click this button to select the default Add Section option, or select a layout element from the dropdown. To learn more, refer to Paragraph Types.
- Title
- Configure the sidebar settings:
- Revision Log Message field
Describe the changes you made. This helps understand what was updated. - Menu settings
Add the page to your website’s Navigation Menu. - Meta-Tags
Meta tags are part of your Search Engine Optimization (SEO) strategy. Most meta tags are self-explanatory, some require explanation. For further information, refer to Search Engine Optimization (SEO).
IMPORTANT: Tags used in Smart Linking are not the same as SEO Meta Tags. - Simple XML Sitemap
Specify whether a page should be included in the index of your website.
A sitemap is an index of all publicly accessible pages on your website. It is created automatically and helps search engines find your page. Learn more in Simple XML Sitemap. - Scheduling options
Set a specific date and time for your page to go public. - URL-Alias
Give your page a descriptive and meaningful URL to make it easier for users and search engines to find your content. For more information, see URL ALIAS.
- Revision Log Message field
Important
Remember to save your page
Save your page to generate its URL and enable previews. If you don't save the page, you'll get an error message for previews.
Don't worry - saving does not automatically publish the page. You can keep editing until you are ready to make it public.
Quick Demo: Add a basic page and customize section
Preview and publish a basic page
There are three key controls at the top of the page editor to manage your page: Save the changes, Preview the page, and enable Content is live (published) when you're ready to publish.
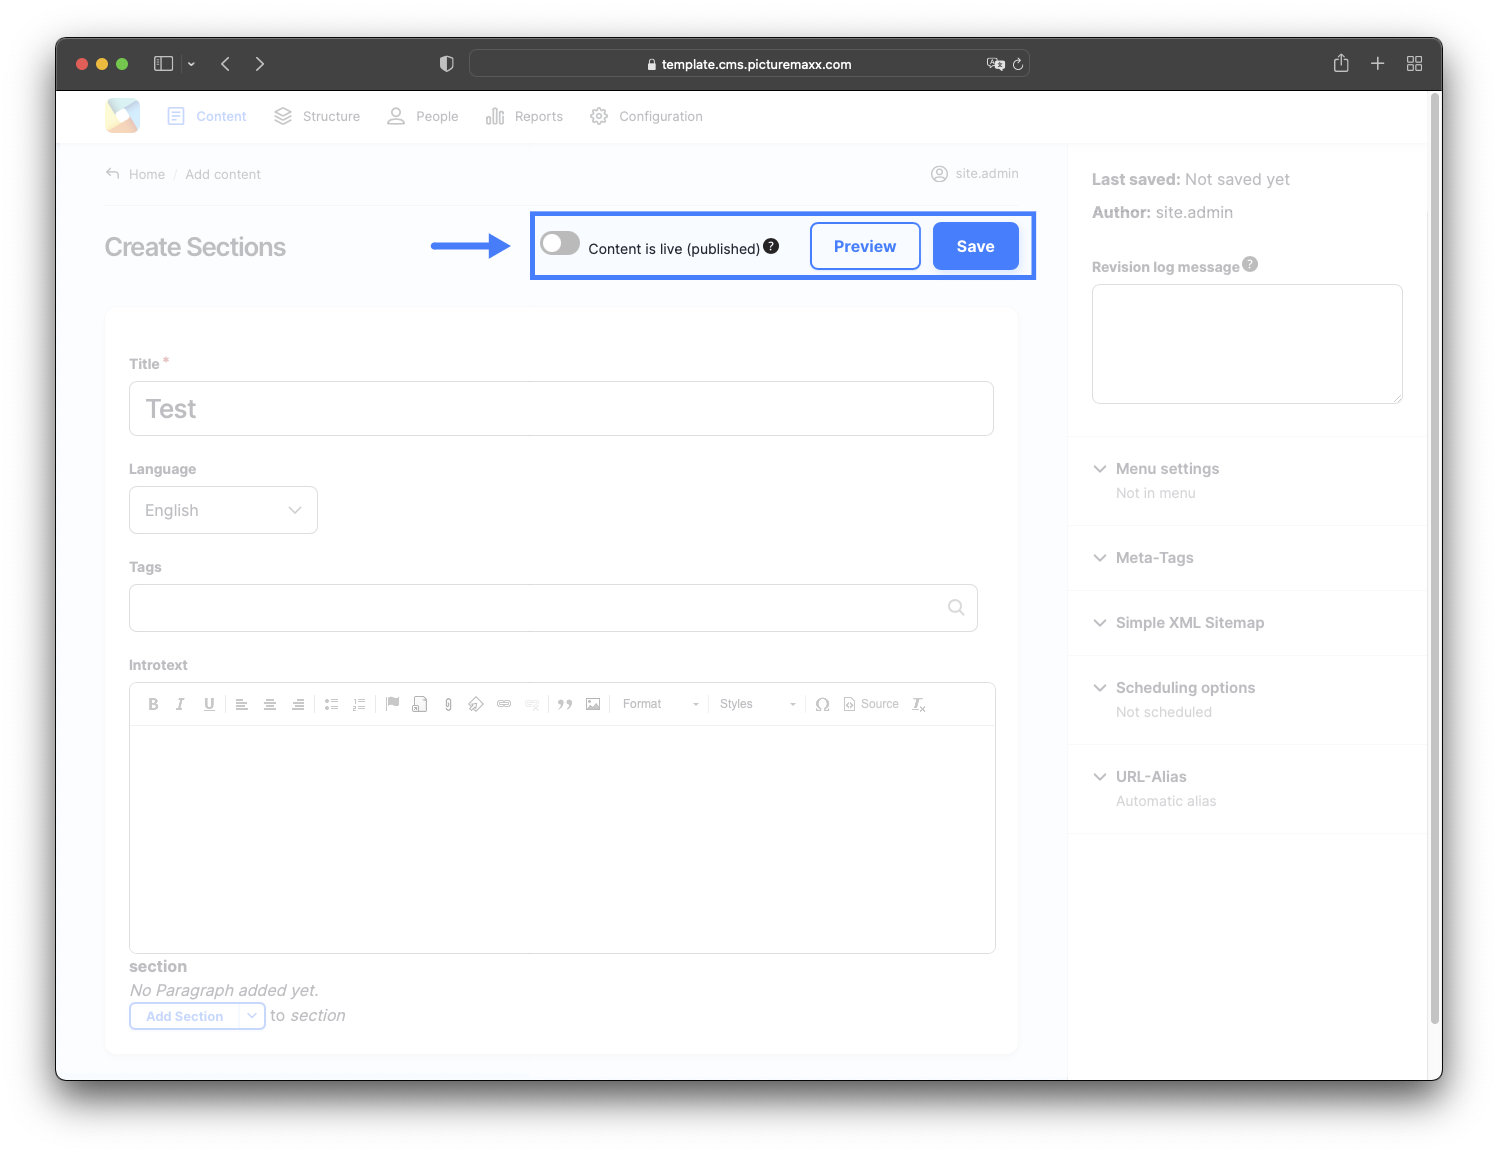 After you’ve saved a Basic Page, use Preview to review how it will appear to visitors before publishing. You can add your newly created page to your website´s Navigation Menu.
Preview your page
Review the content, layout, and formatting before publishing. To verify that everything looks as expected, click Preview.
You can preview every change you make before publishing it.
Publish your page
When you are ready to make the page visible on your website, enable the Content is live (published) option.
If your page is still a work in progress, leave it unpublished while you continue adding content with various Paragraph Types and custom Content Types.
The page will remain hidden from visitors until you turn on Content is live (published).
Set a publish date
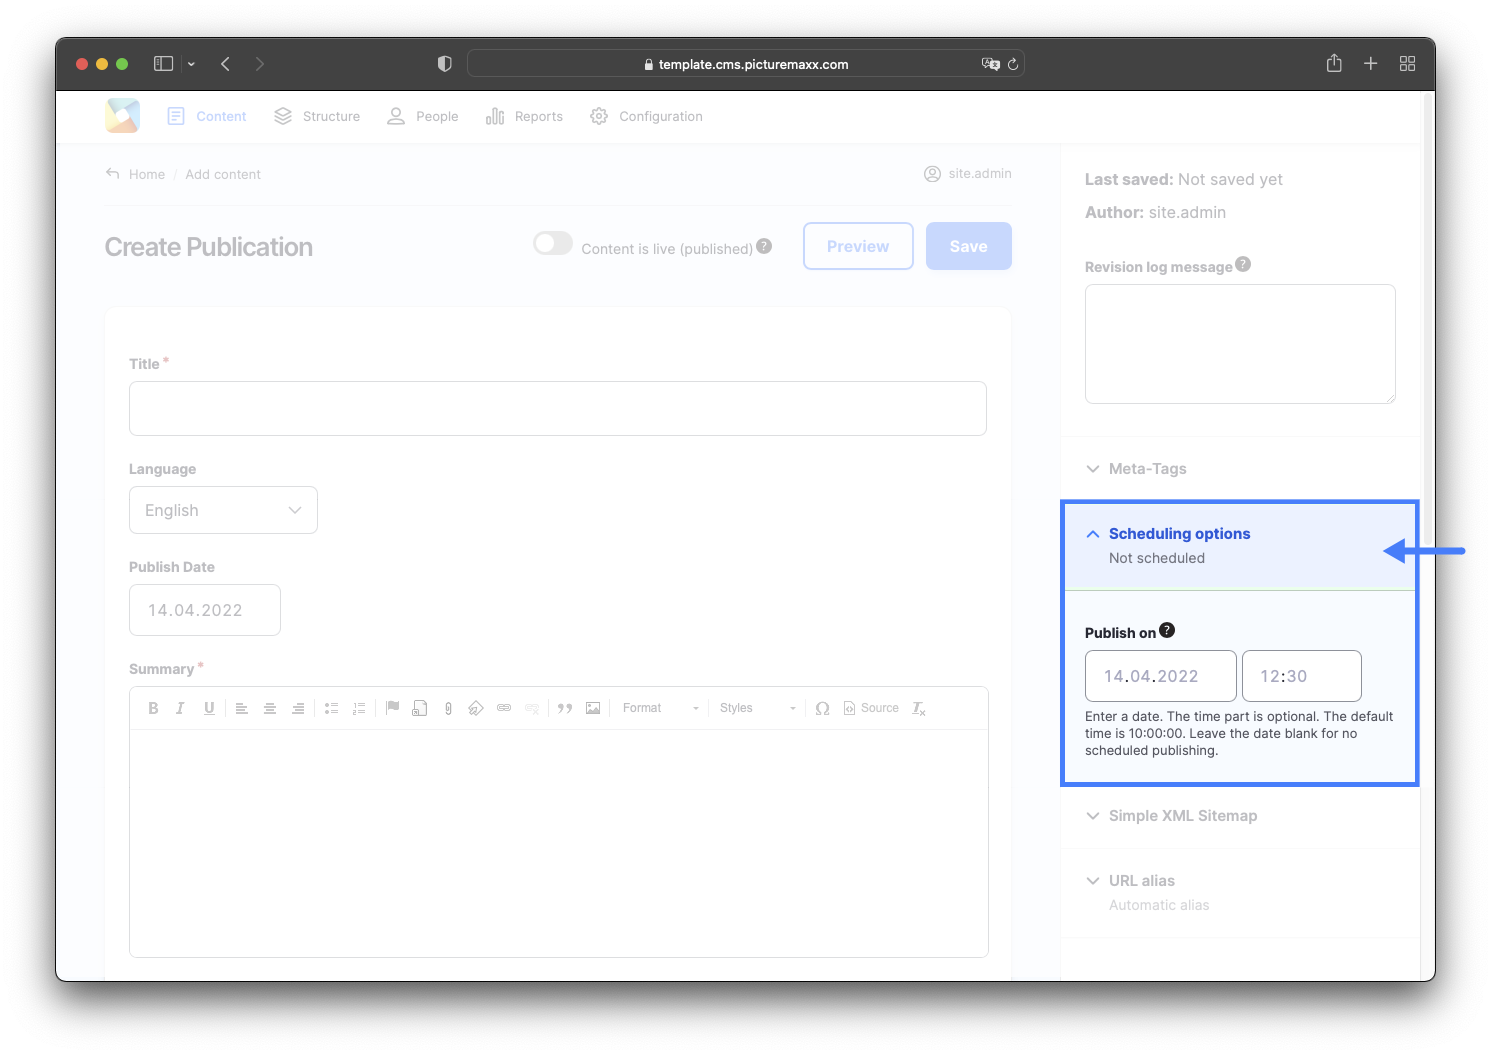
You can choose a specific date and time for your page to go live using Scheduling options on the page editor’s sidebar. This is especially useful for News Articles and Publications.
Once scheduled, the page appears in the Scheduled Content tab on the Content page. It will remain there until the scheduled publish date and time, when it goes live automatically.
Edit pages and files
In the Main administrative menu, click Content to view all website pages, blocks, and uploaded files, organized into four tabs: Content, Blocks, Files, and Media. From here, you can manage your content: edit, delete, publish, unpublish, and much more.
Content tab
In the Content tab, you can access content management options in two ways:
- Choose a desired action from the Edit dropdown in the Operations column next to the content item.
- Select one or more content items using the checkboxes. This activates the Action dropdown, where you can apply actions to multiple items at once.
Blocks tab
The tab opens the Custom block library with the reusable elements that make up your website pages. Refer to Block Layout for details.
Files tab
The Files tab lists all files uploaded to your system. For each file, you can view details such as size, type, and usage info. You can filter files by name, MIME type (e.g. image/png, video/mp4, application/pdf), or status.
Media tab
The Media tab contains all your uploaded media files, such as images, videos, or audio files.
Quick Demo: Access your content overview and controls